How to Turn a Coloring Book Page into a Printable Coloring Page
Updated 2026-09-03 · 5 min read
Workflow boundary: Love to Color accepts image uploads and creates an individual PNG line-art result; it does not verify reproduction rights or create a bound book.
To make a fresh printable copy of a coloring book page you created, own, or have permission to reproduce, photograph or scan it flat in even light, export it as a JPG, PNG or WebP, then generate and review clean line art before downloading the PNG. Check borders and small details on a test print. This workflow does not grant permission to copy, share or sell someone else’s copyrighted pages.
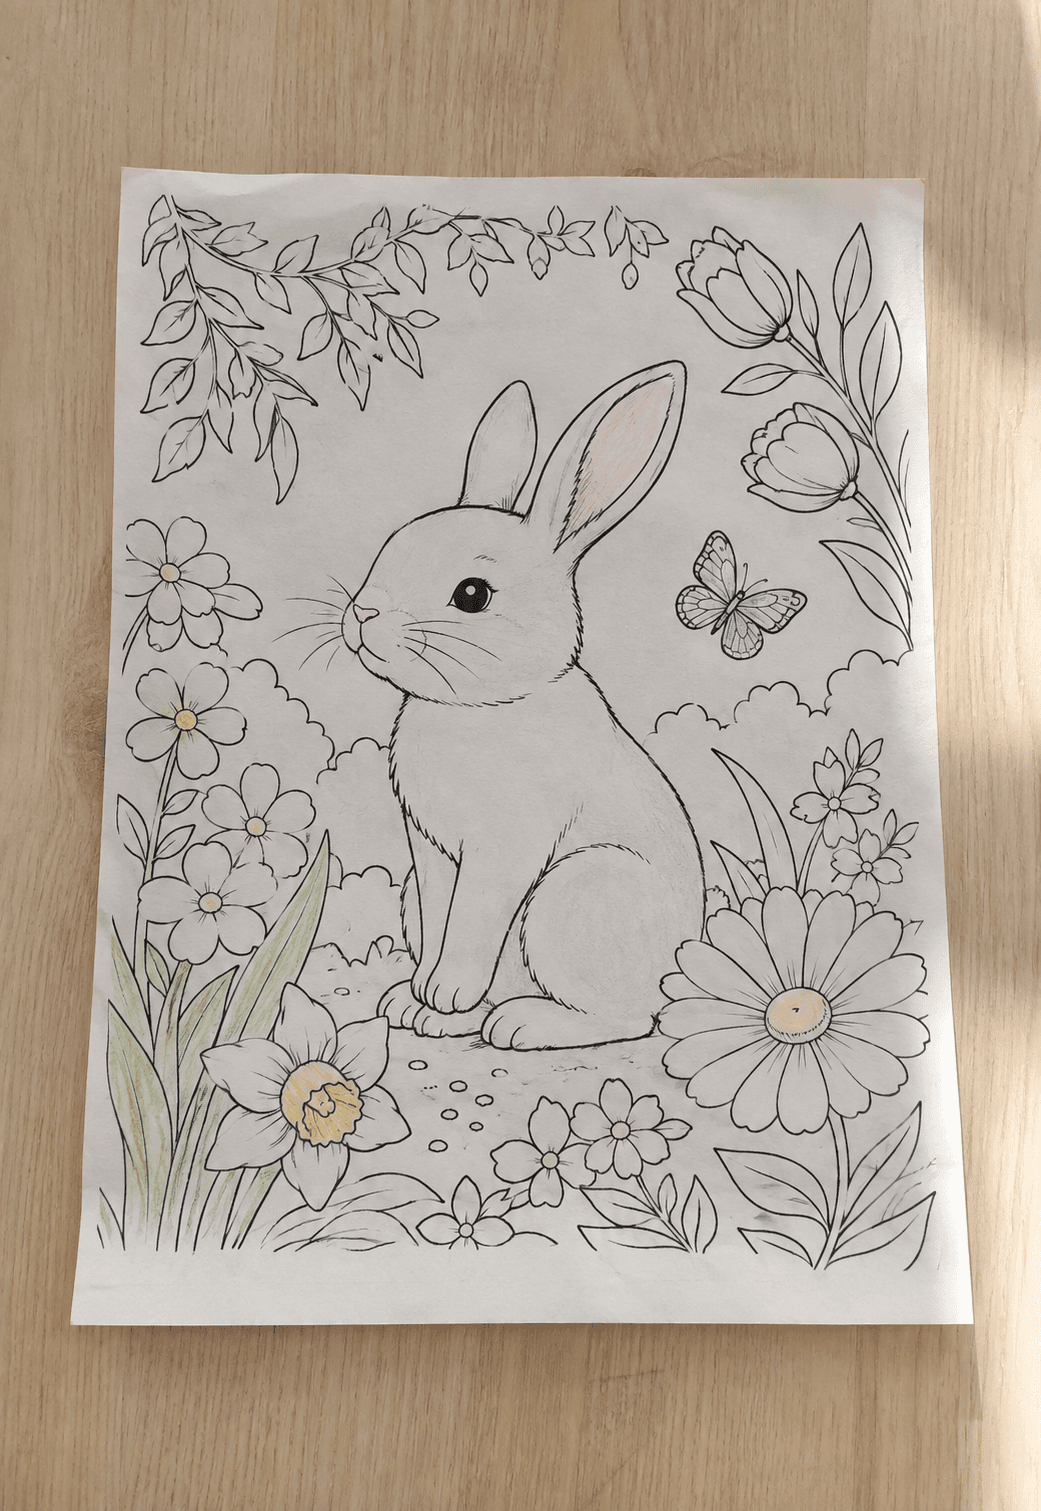 Source photo
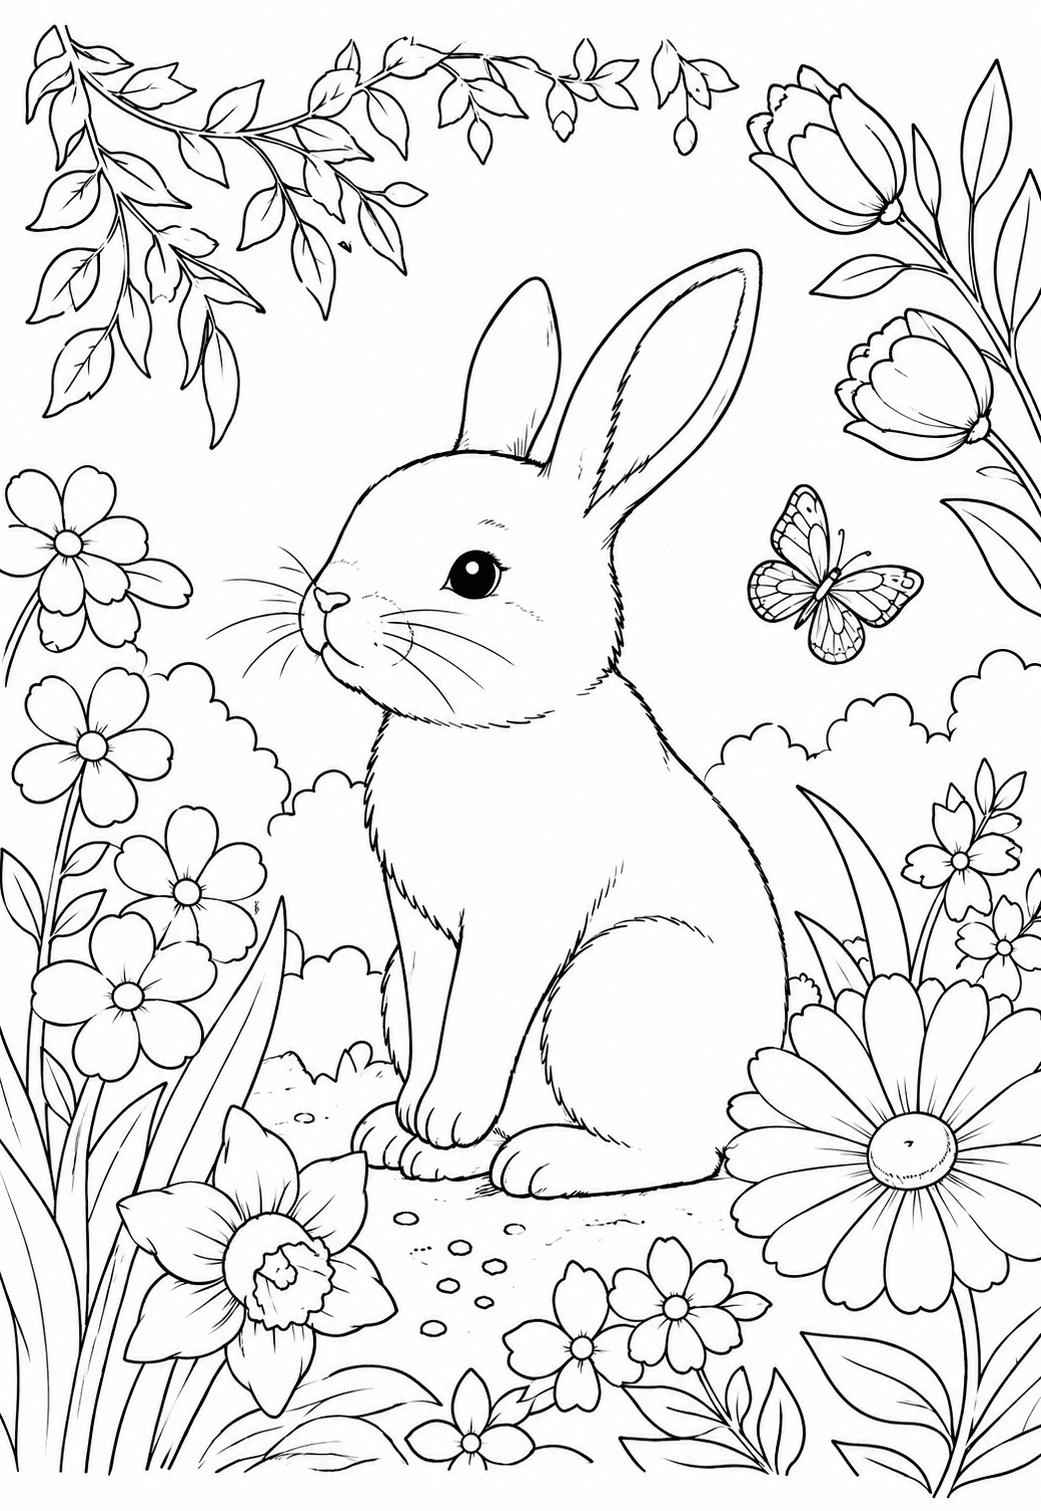 Printable line art
On this page
The workflow in three decisions
- 01Use only pages you created, own, or have permission to reproduce.
- 02Capture the full page flat, with even light and no hard shadows.
- 03Review the generated PNG and print one test copy before making more.
Choose by what you want to do next
Make a clean copy to color again
Use a page you drew, a page you own the rights to, or a page whose creator has given you permission to reproduce.
Open the photo tool →Build a personal set from photos
When the source is a family memory, pet or trip, create one individual page per photo and arrange the set yourself.
Plan a photo book →The moment this workflow solves
A favorite coloring-book page can become part of a family routine: one child wants another turn, a page was already colored, or a folded copy no longer sits neatly on the printer. If the page is your own work or you have permission to reproduce it, a clear photo or scan can give you a practical starting point for a fresh personal copy.
The goal is not to reproduce a whole book or remove ownership information. It is to make one usable page for a permitted personal project, then check whether the line art is clear enough to color and print.
Check that you have the right to make another copy
Before uploading, make sure the page is your original drawing, a page you own the reproduction rights to, or material whose creator or license allows you to make another copy. Buying a physical book does not automatically give permission to scan, distribute, post or sell its pages.
If the page came from another creator, use the publisher’s license or ask for permission. Keep the resulting file for the permitted personal use you intended; do not treat conversion as a way to remove copyright restrictions.
Photograph or scan the page so the outlines stay clear
Lay the page on a flat, matte surface and photograph it from directly above. Daylight near a window can work well when it is even; avoid a lamp that throws a dark phone shadow across the paper. Keep all four corners in frame and tap to focus on the line art.
A scanner can give you an even starting image. Export the scan as a JPG, PNG or WebP file before uploading. The photo tool accepts one image at a time, up to 10 MB, so crop away a table edge or extra background before you begin if it competes with the drawing.
- Keep the page as flat as possible so borders do not bend or disappear.
- Use bright, even light rather than a flash hotspot or deep shadow.
- Capture the whole page, including any detail you want to keep.
Open the photo-to-coloring-page tool
Turn the image into a fresh printable line-art copy
Upload the image, choose the line-art treatment that best fits the page, and generate one result. A photographed page may contain paper texture, soft shadows or a faint previous coloring mark; the useful question is whether the main outlines and open coloring areas are still comfortable to use, not whether every camera artifact survives.
Review the preview before downloading. Look closely at thin borders, small shapes, lettering and the outer edge of the page. If an important feature is missing, retake the source image with flatter framing or more even light and try again rather than printing a weak copy.
Create an individual printable PNG
Print one test page before sharing it at the table
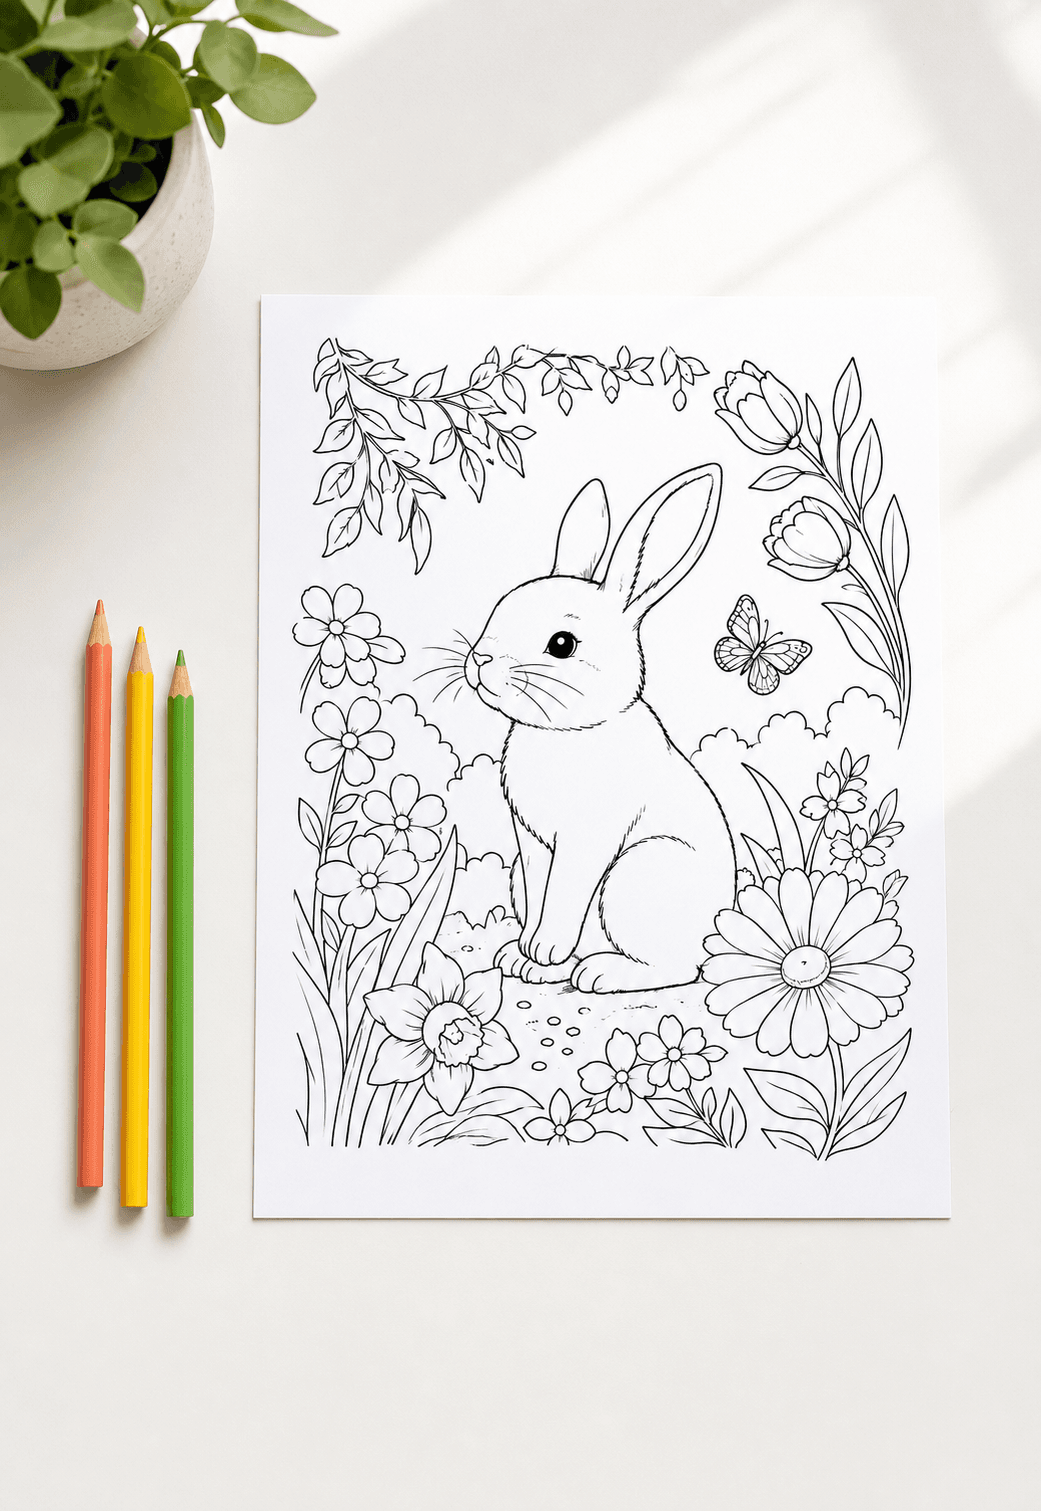
Download the PNG and print one test copy at the paper size you plan to use. Confirm that the page is not cropped, the outlines stay visible, and the smallest regions still work with the crayons, pencils or markers on hand. This check matters most when the source was photographed rather than scanned.
For a family activity, keeping the original safely aside and printing a new copy can be more practical than passing around the only page. If you want a whole personal collection, make and review each permitted page individually; the tool creates individual PNGs rather than assembling or binding a book.
Read how to make a coloring book from photo pages · Turn another clear image into a coloring page
Step by step
- 01Confirm permissionUse only a page you created, own the rights to, or are allowed to reproduce.
- 02Capture the pagePhotograph or scan it flat, evenly lit and fully in frame, then save it as JPG, PNG or WebP.
- 03Generate the line artUpload one image, choose the line-art treatment and create an individual printable result.
- 04Review the detailsCheck borders, fine lines, lettering and open coloring areas before downloading.
- 05Test printPrint one PNG at your intended size before making additional personal copies.
FAQ
Can I scan a coloring book page and print it again?
Only when you created the page, own the reproduction rights, or have permission from the copyright owner or license. A physical purchase alone may not include copying, distribution or resale rights.
What file should I upload from a scan?
Export one scan as a JPG, PNG or WebP file, up to 10 MB. Crop away extra background when possible and keep the whole design visible.
Why does a photographed page need a test print?
A camera image can introduce shadow, perspective distortion or soft focus. A single printed copy lets you check that outlines, borders and small regions remain usable at the paper size and with the tools you plan to use.
Does the tool create a complete coloring book?
No. It creates one individual PNG line-art result from one uploaded image at a time. You can arrange permitted individual pages into a personal project in your own layout tool.