How to Make a Coloring Book from Photos
To make a coloring book from photos, start with 8–20 clear images, turn each photo into an individual coloring page, keep the same style and paper settings, unlock and download the PNGs, then arrange the pages with a cover, page order and safe margins in the layout tool of your choice. Love to Color creates the individual pages; it does not automatically bind, print or ship a finished book.
Start with a photo Original photo
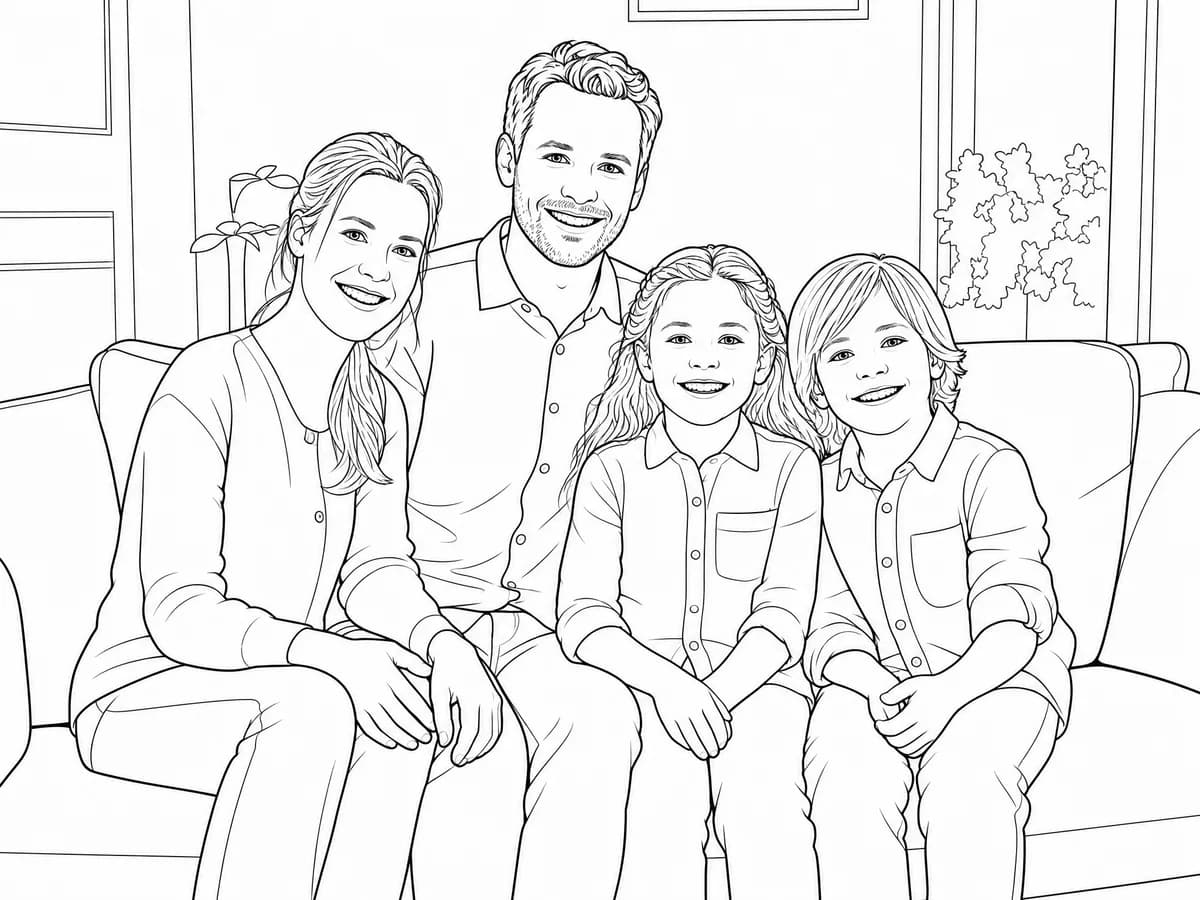 Printable line art
The workflow in three decisions
- 01Plan a focused set of 8–20 photos.
- 02Generate and review one watermarked preview per photo; unlock the pages you want to download.
- 03Arrange the pages and export the final PDF in your own layout tool.
Choose by what you want to do next
Start with a clear photo
Make one page, inspect the result and confirm the print before collecting enough images for a book.
Create the first page →Choose a consistent story
Group photos around one family moment, trip or milestone so the finished pages feel like a set.
Check the source photos →What you need before you start
A small, coherent set is easier to turn into a good book than a camera roll full of unrelated images. Start with 8–20 clear photos that share a story: a family holiday, a child's first year, a pet's everyday moments or a collection of meaningful places.
Choose photos with one recognizable subject, good lighting and complete framing. A simple background gives the AI cleaner shapes to preserve and leaves more comfortable spaces to color. If you are unsure which images are ready, use the photo quality checklist before spending a generation.
Generate one coloring page from each photo
The practical workflow is one photo at a time. Open the photo to coloring page tool, upload one image, choose the style and background treatment, review the line art, and repeat for the rest of the set.
Do not expect the tool to merge several uploads into a bound book. It creates individual printable pages, which gives you a chance to reject a weak conversion and regenerate only the photo that needs another attempt.
Keep the visual settings consistent
A book feels intentional when neighboring pages use the same visual language. Reuse the same drawing style, line weight, background choice, detail level and paper orientation for the whole set. If the book is for younger children, favor bold outlines, larger regions and simpler backgrounds; a keepsake for older colorists can keep more detail.
Write down the settings you chose before generating the second page. Small changes are easy to forget when you work through a long photo set, and inconsistent linework is more noticeable once the pages are placed side by side.
Match complexity to the person who will color · Use the prompt-guided photo workflow for extra preservation notes
Download and name the PNG pages
After reviewing each watermarked preview, sign in to save the project, then use credits to create an unlocked result before downloading or printing its PNG. Name the unlocked PNG files in reading order so your layout work stays simple. A pattern such as 01-cover-photo.png, 02-beach.png and 03-birthday.png is easier to sort than camera filenames.
Keep the original photos in a separate folder. That lets you compare a generated page with its source and replace a page later without losing the sequence you already planned.
Arrange the cover, page order and margins
Place the PNGs into a document or layout tool that supports the paper size you want to print. Add a simple cover, set the page order, and leave a comfortable inside margin if the pages will be stapled, spiral-bound or placed in a folder.
Use one page per image and check that no face, paw, hand or important object sits too close to the trim edge. Keep the same orientation throughout unless a deliberate chapter break makes a landscape page worthwhile.
Export a printable PDF or bind the pages yourself
Love to Color currently supplies the individual PNG pages. When your layout is finished, export a print-ready PDF from the document or design tool you used, or print the pages separately and assemble them in a folder, binder or simple handmade book.
Before exporting, check the PDF at 100% scale, confirm that the cover and page order are correct, and print one test page. A test catches unexpected cropping, stretched proportions and margins that are too narrow for your printer or binding method.
Step by step
- 01Choose 8–20 clear photosPick a coherent set with recognizable subjects, good lighting and complete framing.
- 02Generate one page per photoUpload each image separately and review the line art before moving to the next photo.
- 03Reuse the same settingsKeep the drawing style, line weight, background, detail level and paper orientation consistent.
- 04Unlock, download and name the PNGsSign in to save the project, then use credits from a one-time pack to create and download unlocked pages. Save them to My Pages, then name the files in their intended reading order.
- 05Arrange the bookAdd a cover, set the page order and leave safe inside margins in your layout tool.
- 06Export or assembleExport a printable PDF from the layout tool, or print the PNG pages and bind them yourself.
FAQ
How many photos should I use for a coloring book?
Start with 8–20 clear photos. That is enough for a meaningful small book while keeping the generation, review and layout work manageable. Add more pages only after the first set has a consistent look.
Does the photo tool automatically create a complete coloring book?
No. It creates one printable coloring page from one uploaded photo at a time. You download the PNG pages and arrange the cover, order, margins and PDF in a separate layout workflow.
Can I make coloring book pages from different types of photos?
Yes. You can combine portraits, pets, family moments, travel photos and meaningful objects. Keep the same settings across pages and avoid mixing very busy images with extremely simple ones unless you want a deliberate change in difficulty.
Do I get PNG or PDF files?
The photo tool provides individual PNG line-art pages. Create the multi-page PDF in the document or design tool where you arrange the pages; Love to Color does not automatically export or ship a finished bound book.
How do I keep the pages consistent?
Write down the first page's style, line weight, background, detail level and paper orientation, then reuse those choices for every photo. Review the pages side by side before exporting.