
Classic coupe on a driveway
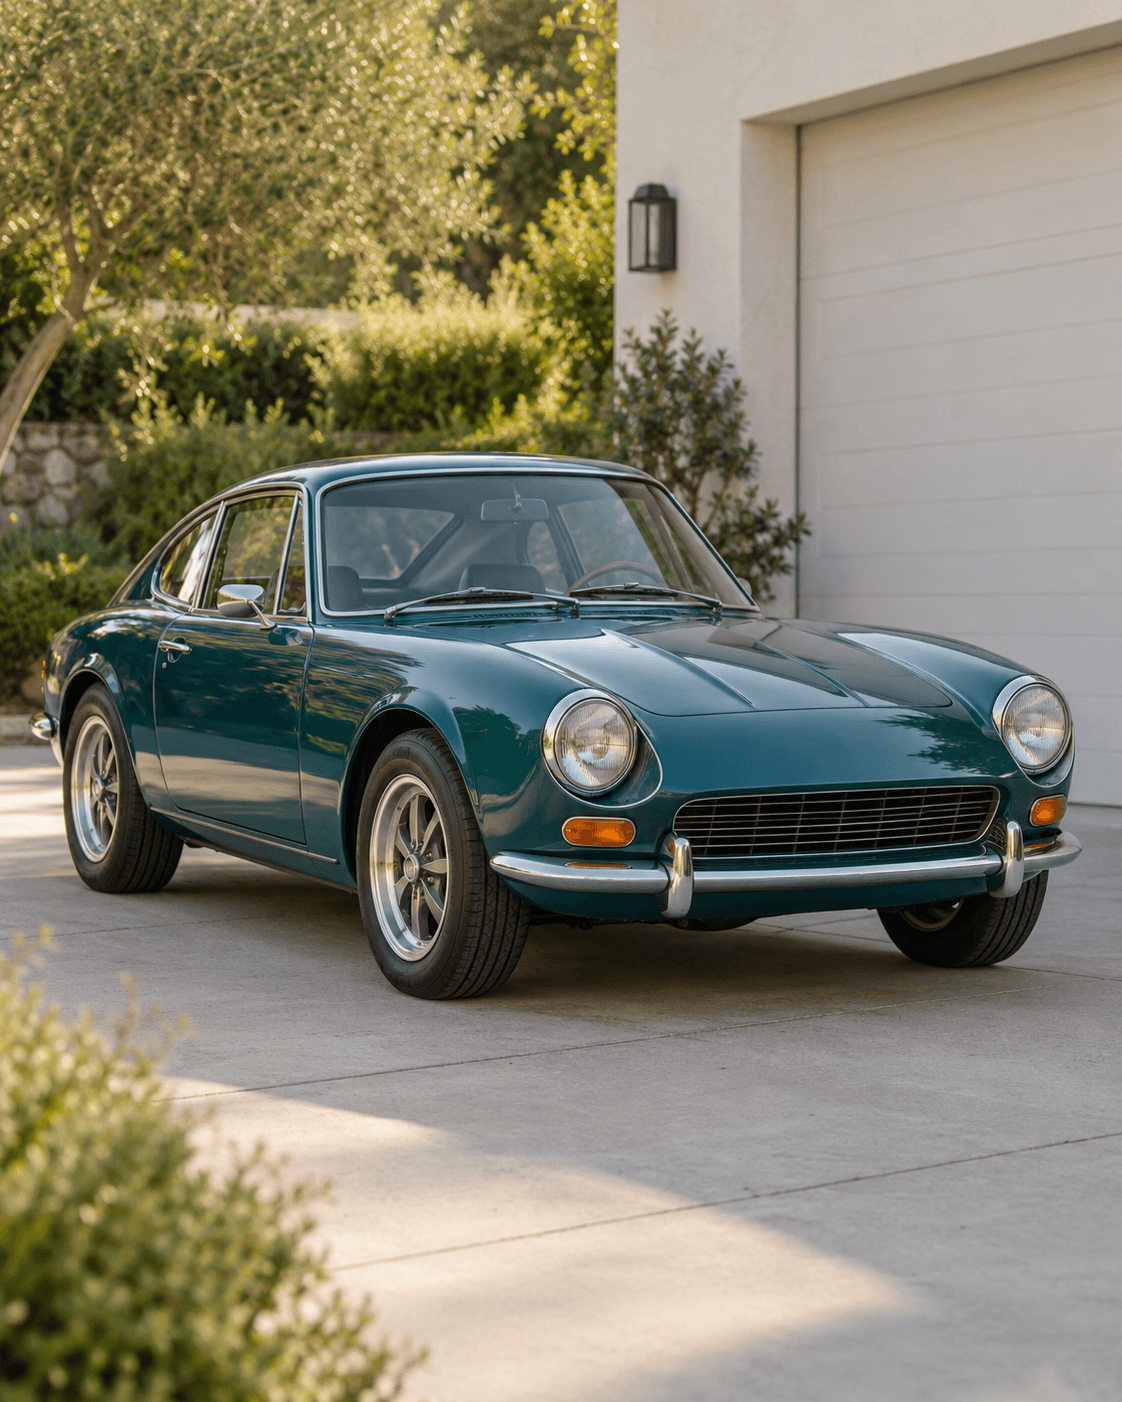
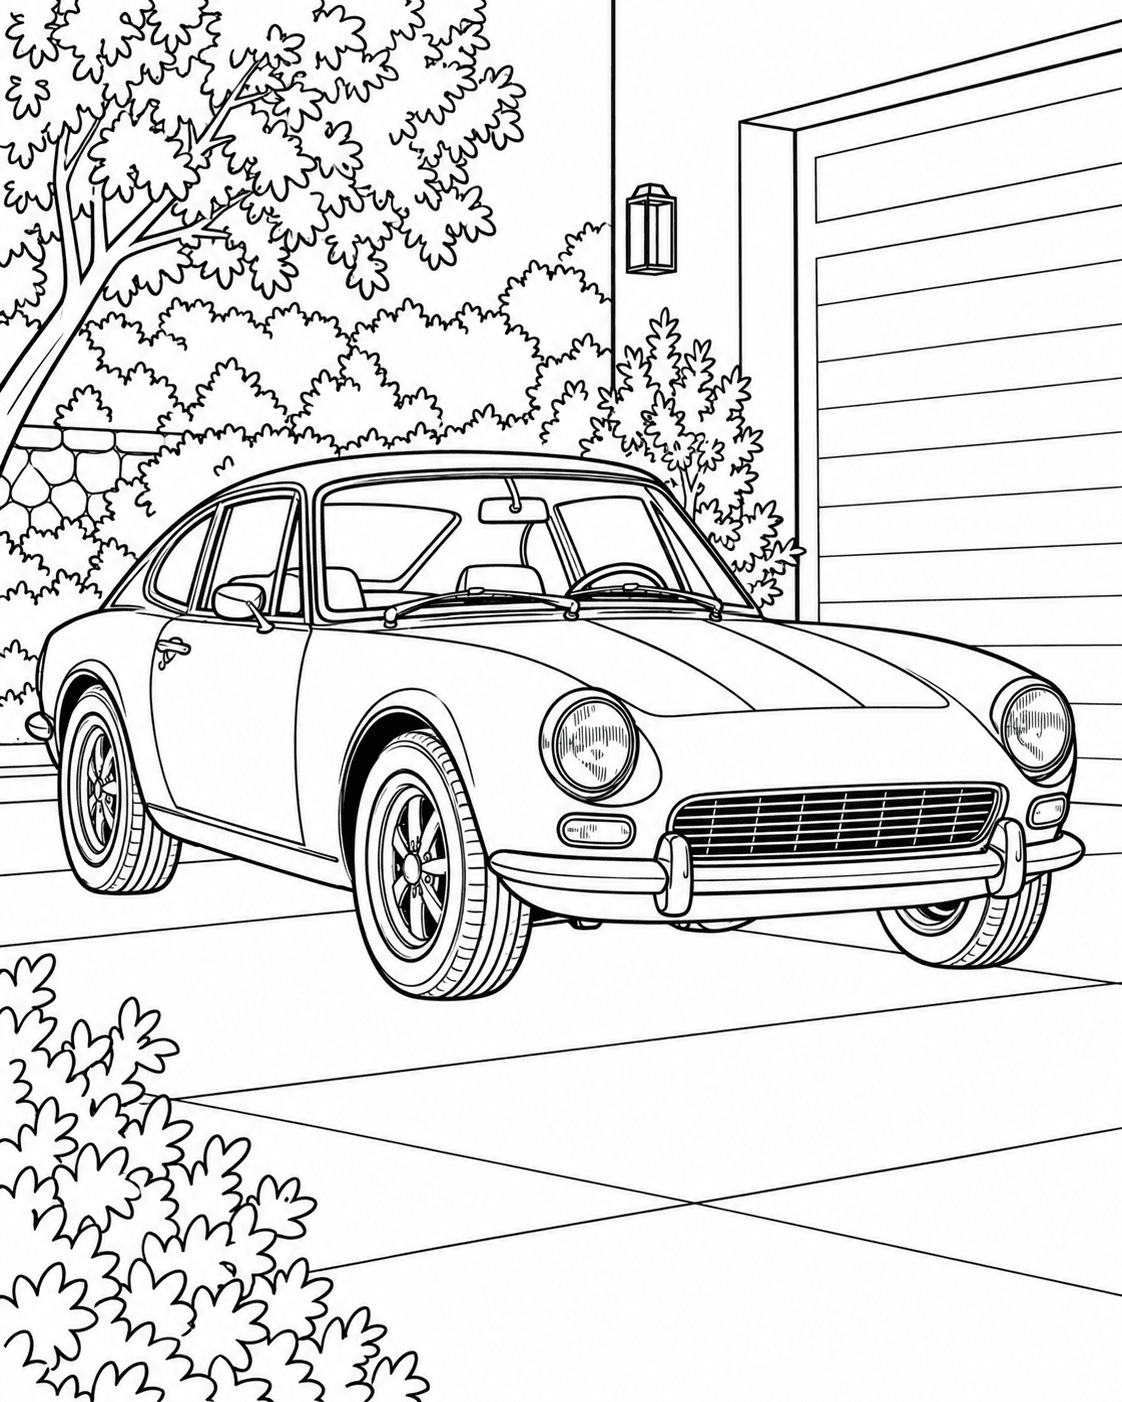
Classic Car Photo to Coloring Page
Preserve the round headlights, roofline, wheel arches and long hood while simplifying reflections and garden texture.
Upload a favorite car photo and create clean, printable line art that keeps the vehicle silhouette, wheels and defining body details easy to recognize.
Choose how much of the background and mechanical detail to keep, then review the result before downloading.
Same car and camera angle, simplified into printable outlines.
Upload a clear vehicle photo, tune the line-art settings, then review a printable preview.
Every example below starts with a car or truck photo. Compare how the same workflow handles a classic coupe, off-road SUV, vintage pickup and modern sports car.
Preserve the round headlights, roofline, wheel arches and long hood while simplifying reflections and garden texture.
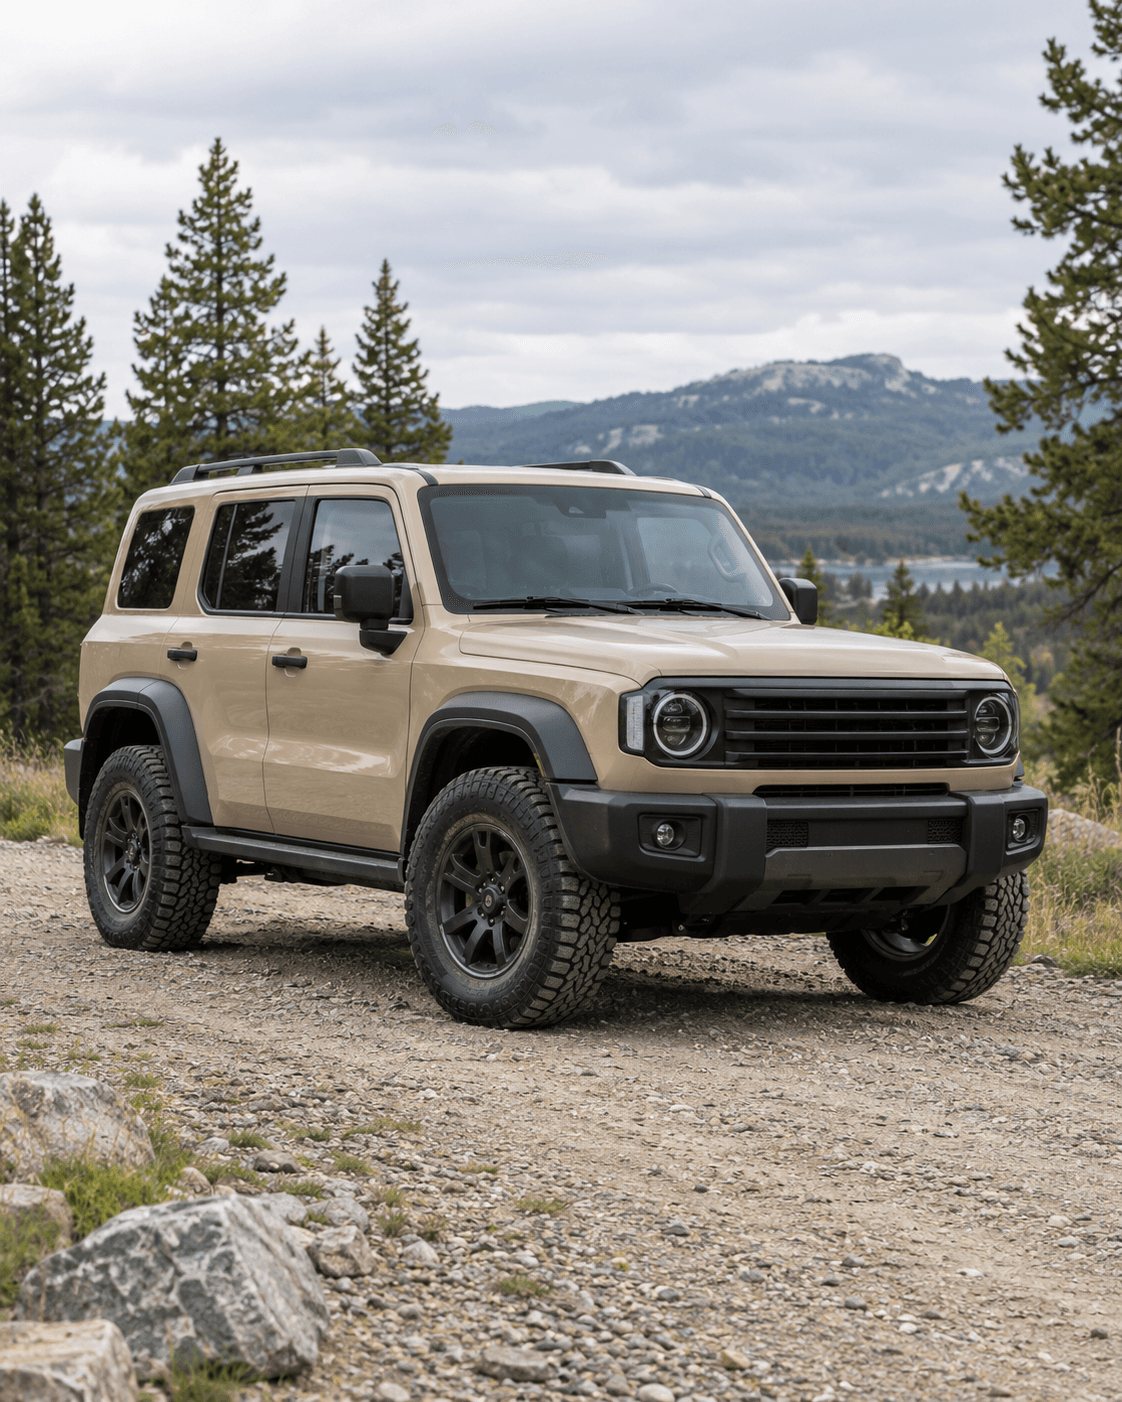
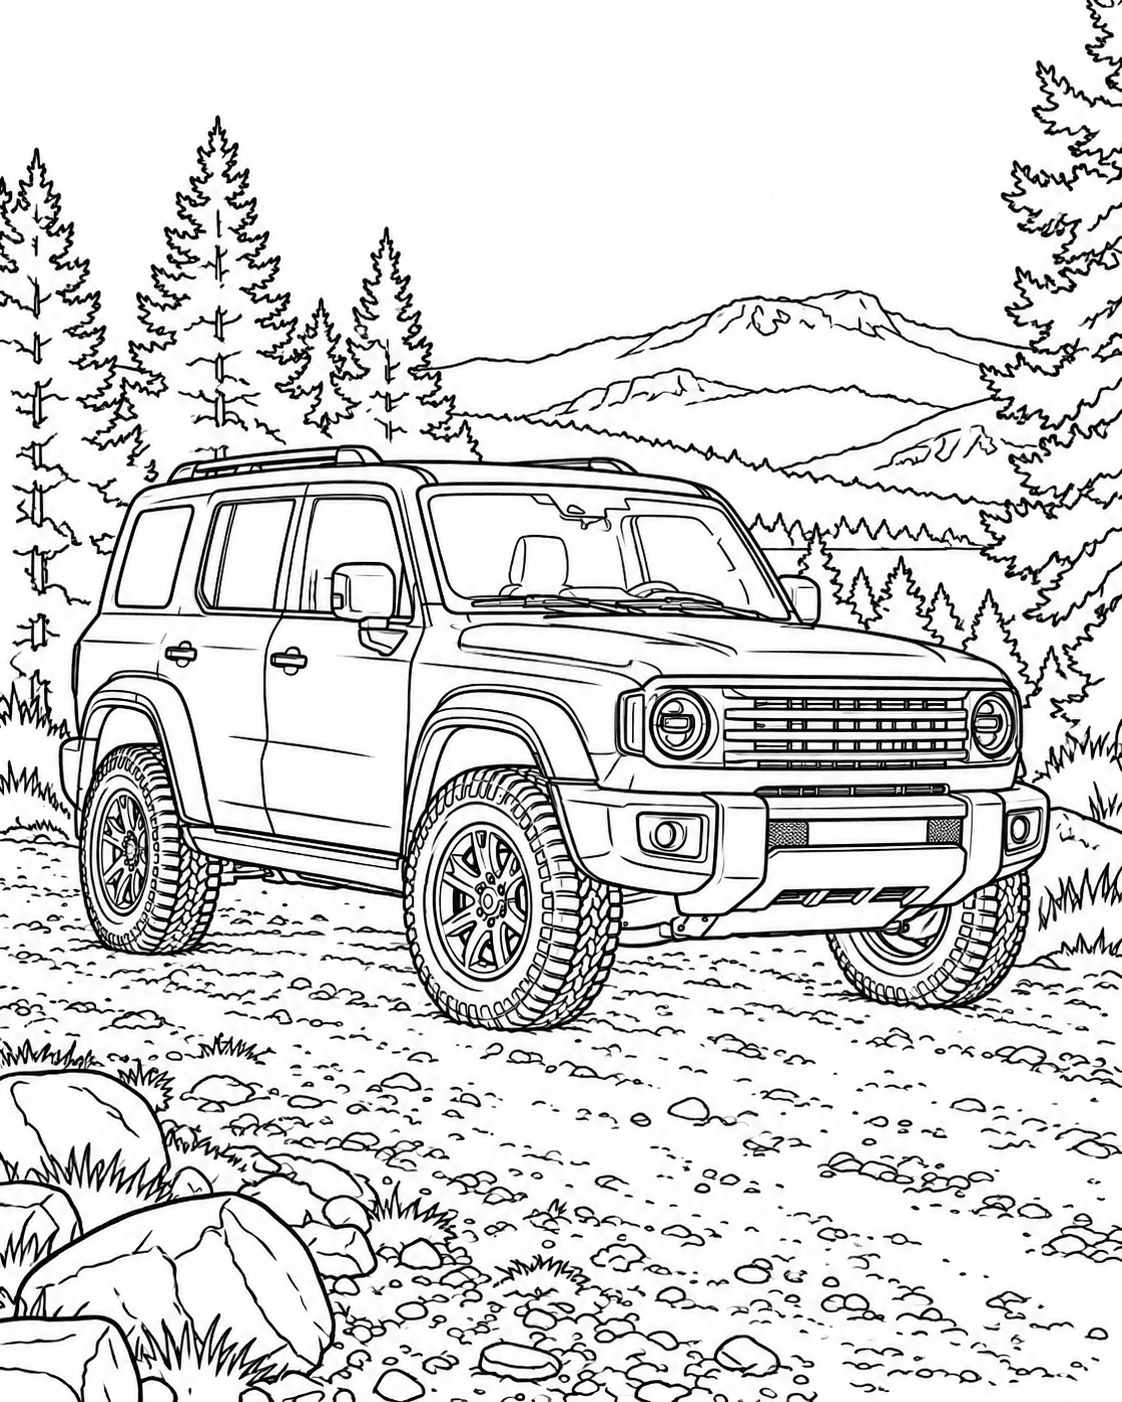
Keep the boxy body, windows, roof rails and tire geometry readable while reducing rocks, trees and distant hills.
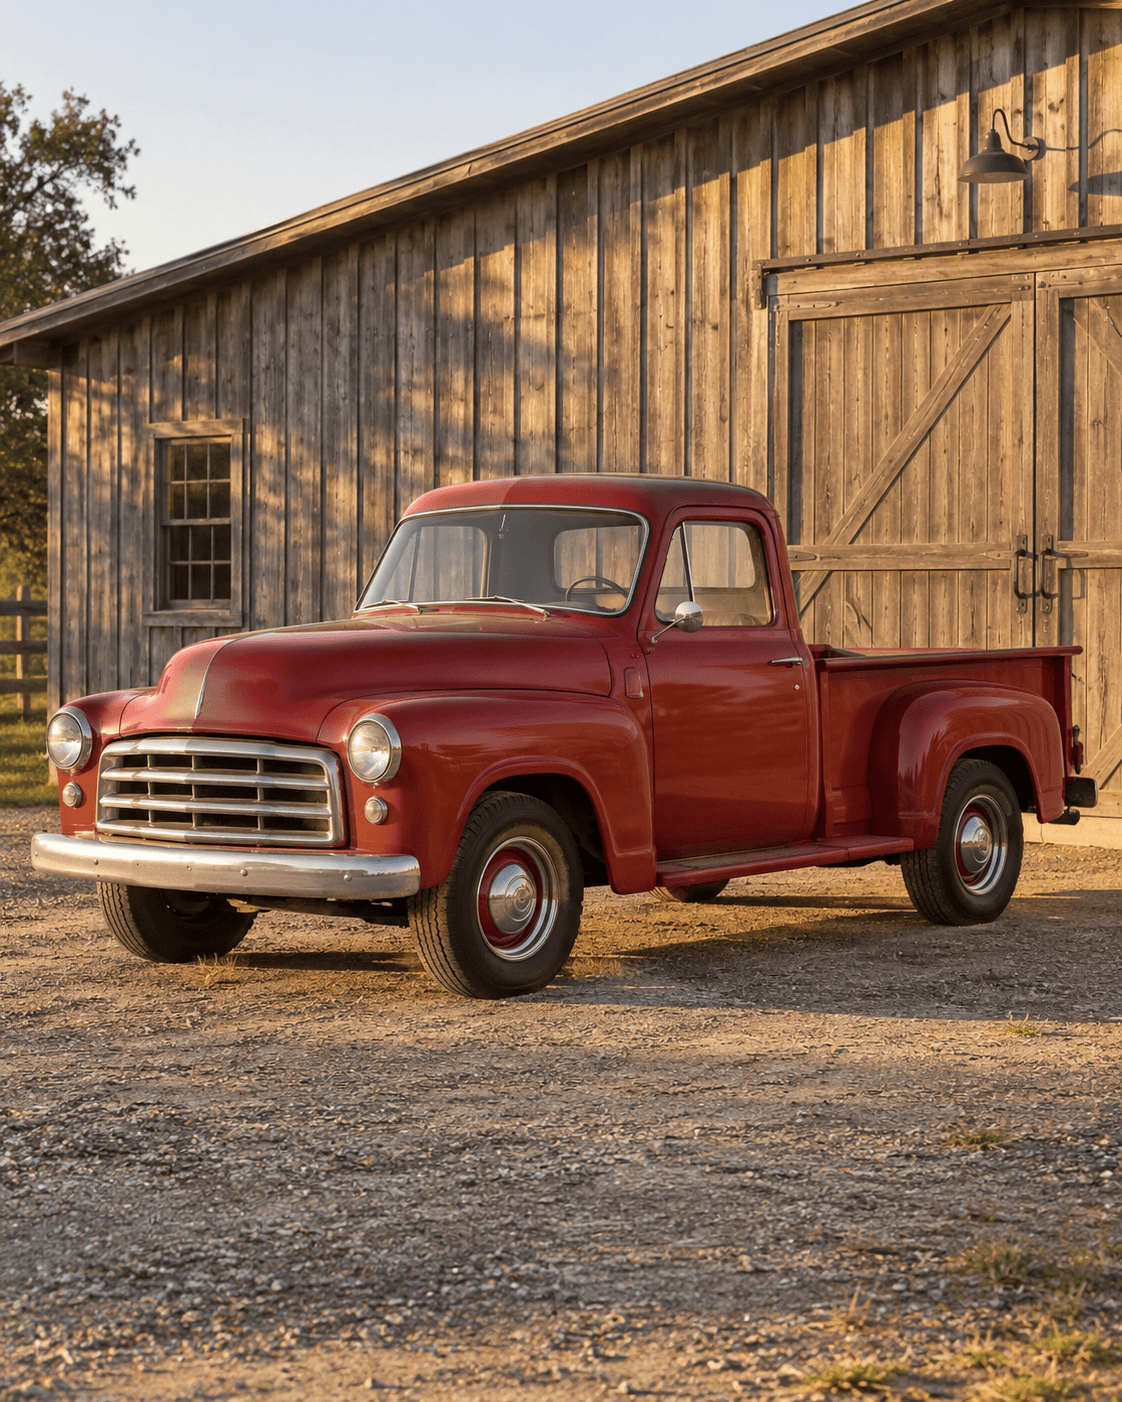
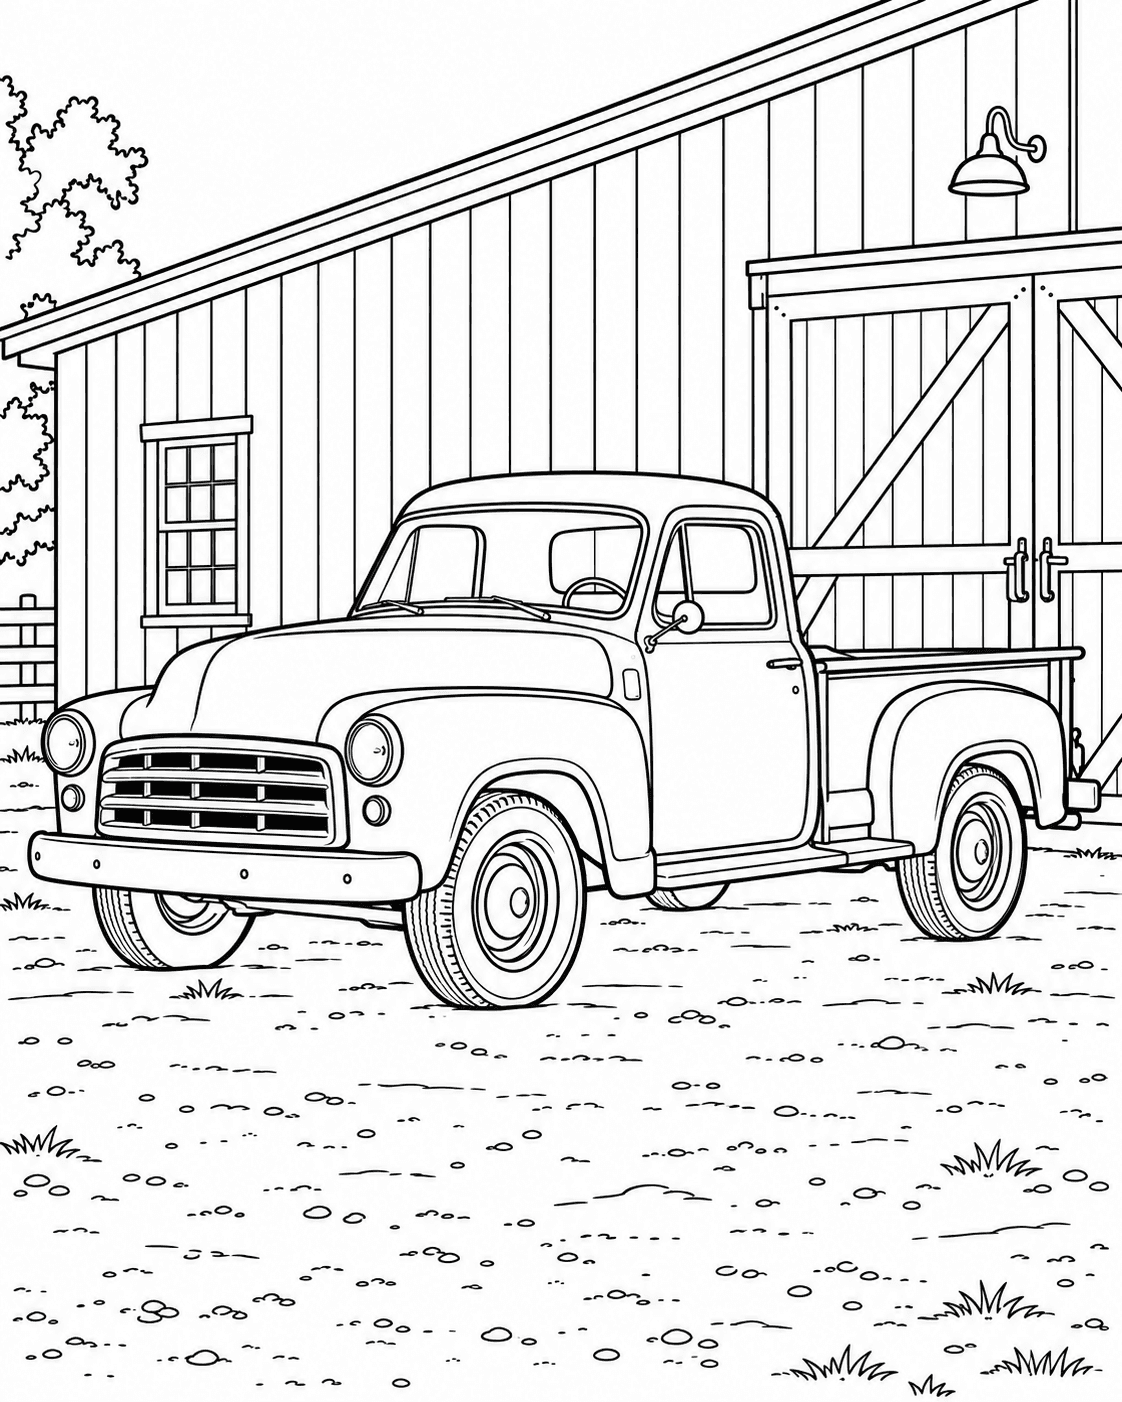
Retain the cab, bed, grille and circular lights, then turn the workshop background into larger colorable shapes.
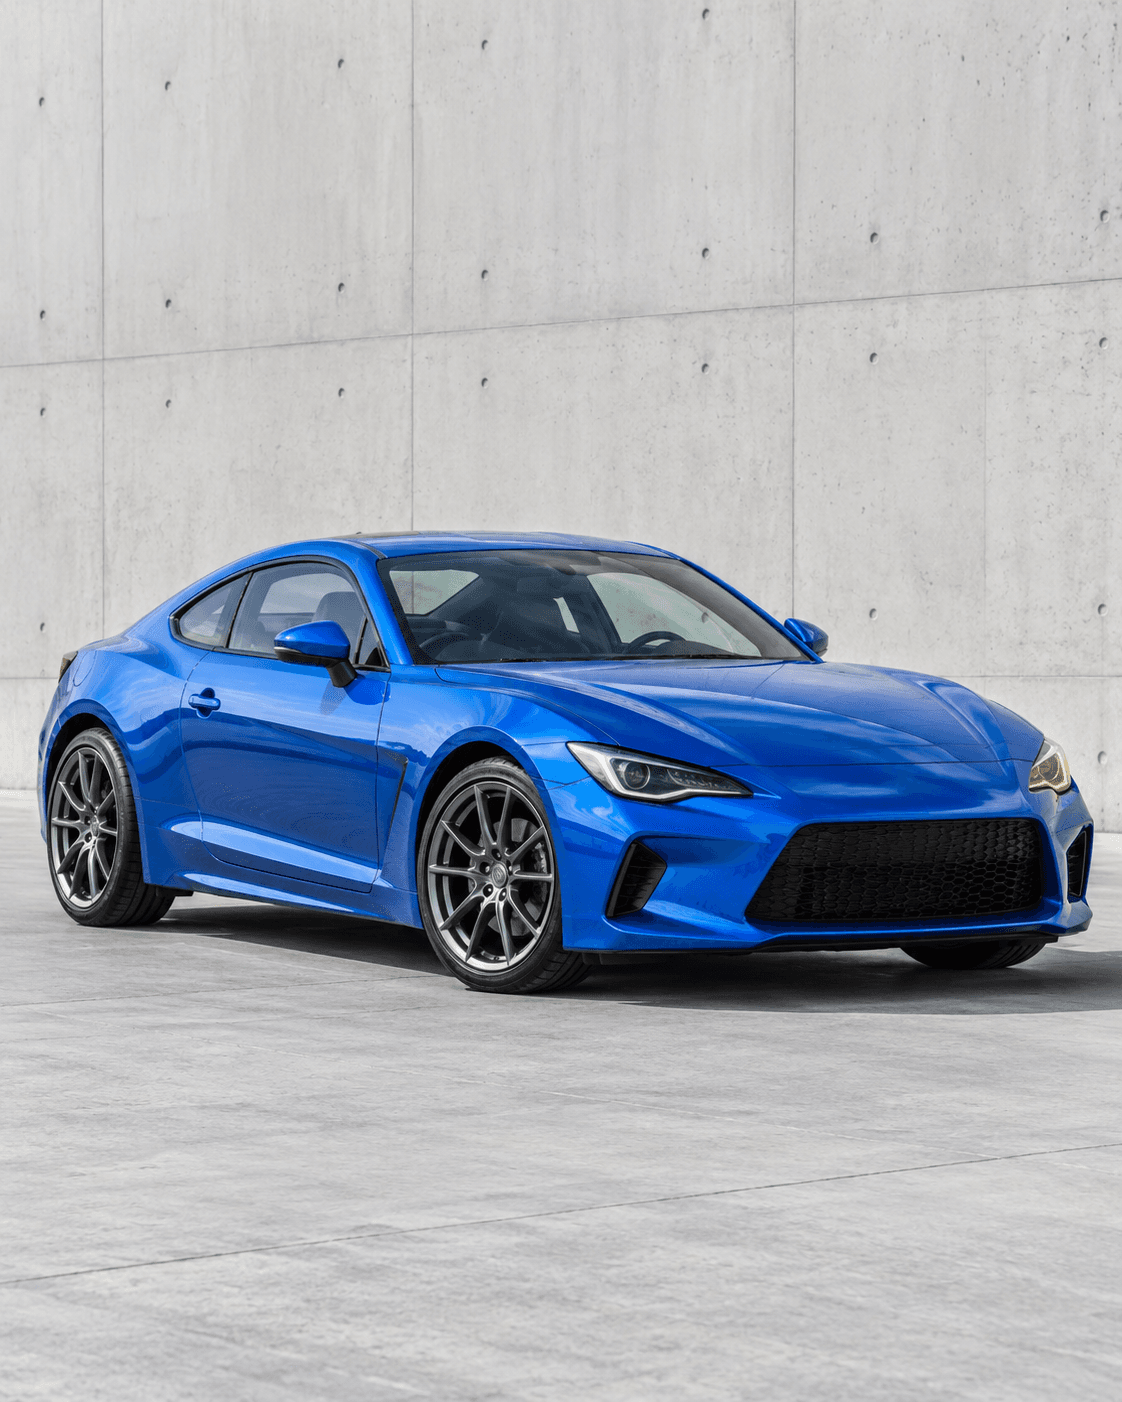
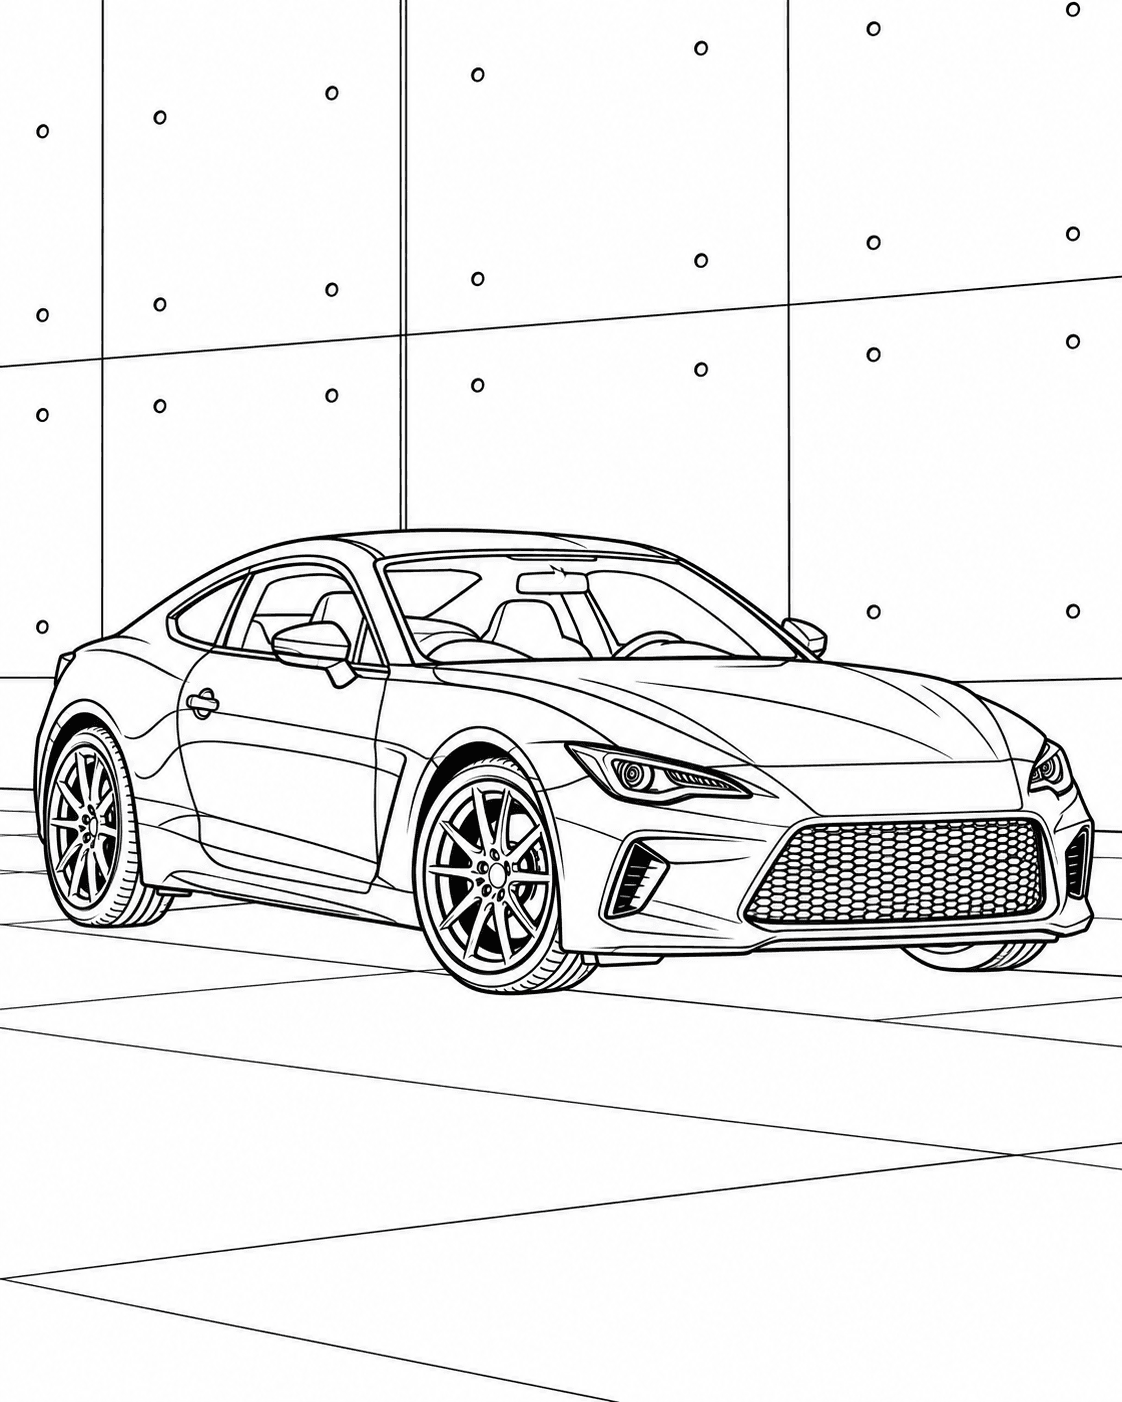
Prioritize the low silhouette, headlights, body panels and wheel spokes against a clean architectural setting.
A strong car coloring page starts with a readable silhouette. The roofline, wheels, windows, lights and major body panels should remain distinct after reflections and background texture are simplified.
The converter uses the same photo workflow as the main tool. It is most reliable when the full vehicle is sharp, well lit and separated from the background.
Leave breathing room around the bumpers, roof and tires so important edges are not cut off before conversion.
Use an angle where the wheel shapes, lights, grille, windows and body profile are easy to distinguish.
Use simpler, bolder regions for kids or retain more panel and wheel detail for older colorists and car enthusiasts.
Use one source photo, make the important choices before generation, and inspect the preview before unlocking it.
Choose one sharp photo with the full vehicle visible and enough space around the bumpers, roof and wheels.
Select the style, background treatment, detail level, line weight and paper size that suit the person who will color it.
Create a watermarked Standard 1K preview and inspect the body shape, windows, lights, grille and wheel geometry.
When the page looks right, unlock the downloadable PNG and print it on the paper size selected before generation.
Reflective paint, dark tires and busy scenery can merge in a photo. These checks give the converter clearer edges to work from.
Avoid crushed shadows under the car and blown highlights across the hood. Visible contours are easier to simplify into useful lines.
Choose a view where the wheels and wheel arches do not disappear into deep shadow, tall grass or nearby objects.
AI may reinterpret badges, decals, grille texture and plate text. Review or crop sensitive plate information before using a photo.
AI-generated line art can simplify or reinterpret fine mechanical details. Review wheels, lights, badges, plate areas and overlapping parts before printing.
Choose the paper size before generating, unlock the PNG you want to keep, and use the matching setting in your printer.
Select A4 or US Letter before generation so the composition matches the paper you plan to load.
Use high print quality. Standard paper suits pencils and crayons; heavier stock is more forgiving with markers.
Check wheel circles, window openings, headlights, body seams and plate areas before making multiple copies.
Practical answers about source photos, vehicle details, previews, backgrounds and printing.
Upload one clear JPG, PNG or WebP photo, choose the Object subject setting, then select a style, background treatment, detail level, line weight and paper size. Generate the page and review the watermarked Standard 1K preview before unlocking a downloadable result.
Use a sharp front, side or three-quarter view with the entire vehicle inside the frame. Even lighting, visible wheels and a background that does not merge into the body usually make the silhouette and major parts easier to preserve.
The general photo workflow can process a clear vehicle or object photo. Results depend on the source image, so keep the main vehicle large in the frame and review small mechanical details, decals and overlapping parts before printing.
Yes. Choose the available background treatment before generating. A removed or simplified background can make the vehicle easier to color, while keeping more of the scene can preserve context such as a driveway, garage or road.
Do not rely on AI-generated line art for exact text, logos, badges or plate characters. Small details may be simplified or reinterpreted, so review them closely and use photos without sensitive plate information when possible.
Yes. Select A4 or US Letter before generation, download the unlocked PNG, and use the matching printer paper and fit-to-printable-area setting. Avoid stretching one paper ratio to the other.
Guests can create a watermarked Standard 1K preview. Signing in can save a project, while credits are required to unlock eligible downloadable or higher-resolution output.
The black-and-white coloring page remains the primary output. After an eligible page is unlocked, you can optionally explore color directions and create a separate Finished Look when that workflow is available to your account.