
How to Color a Mandala: A Beginner's Step-by-Step Guide
Updated 2026-08-15 · 8 min read
Visual method: the same Love to Color mandala is shown as blank line art and through four digital flat-color passes so the coloring order stays easy to compare.
To color a mandala, choose a design with comfortable open spaces, limit yourself to three to five colors, and test them on scrap paper first. Color one repeated family of shapes at a time, carrying the same color order around the circle. Work from the outer ring or center, then save your strongest contrast for the focal area.
The workflow in three decisions
- 01Start with a page whose smallest spaces match the tool you want to use.
- 02Assign three to five colors to repeated shape families before filling the whole design.
- 03Build contrast in stages and finish with the center or another clear focal point.
One mandala, colored in four deliberate passes
This controlled example keeps the line art and palette unchanged. Each pass completes another family of repeated shapes, making the order visible without pretending to reproduce pencil texture or marker blending.
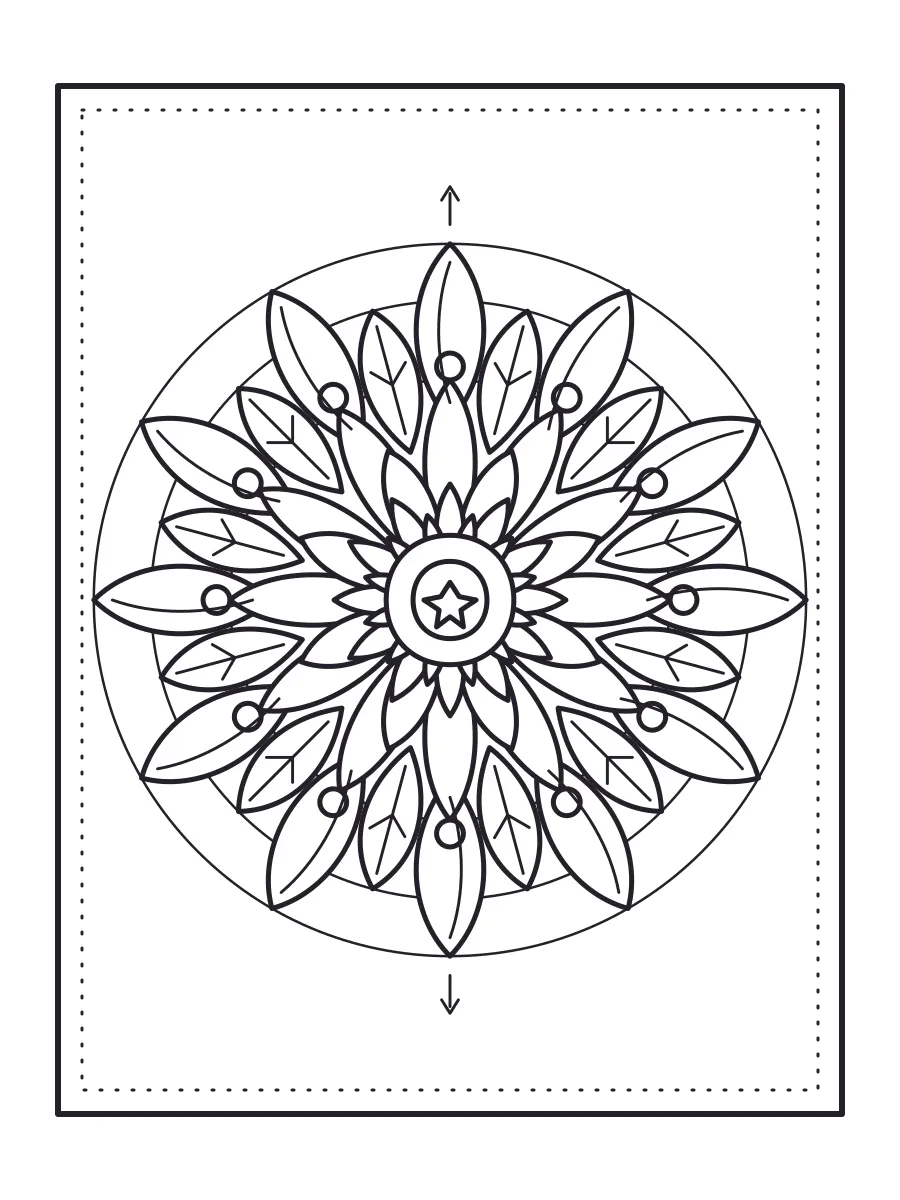
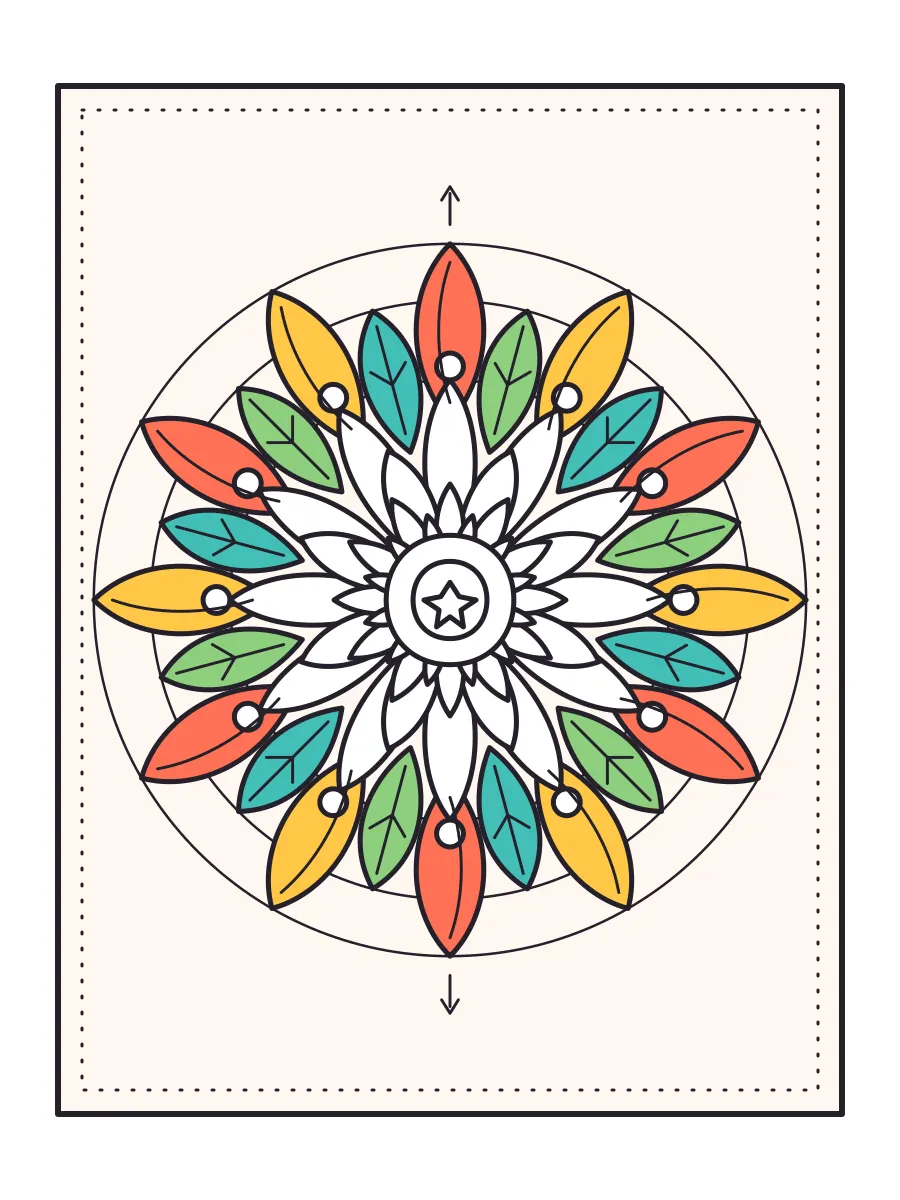
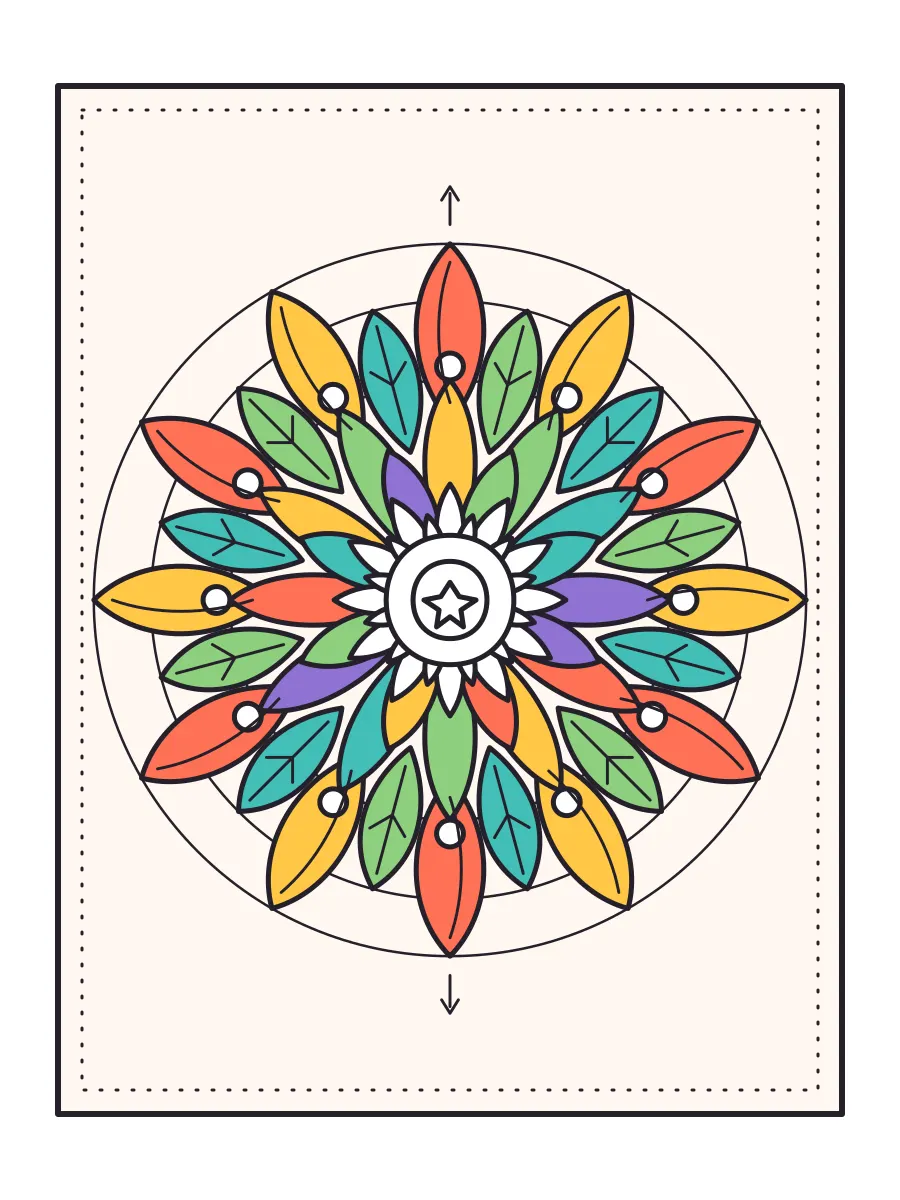
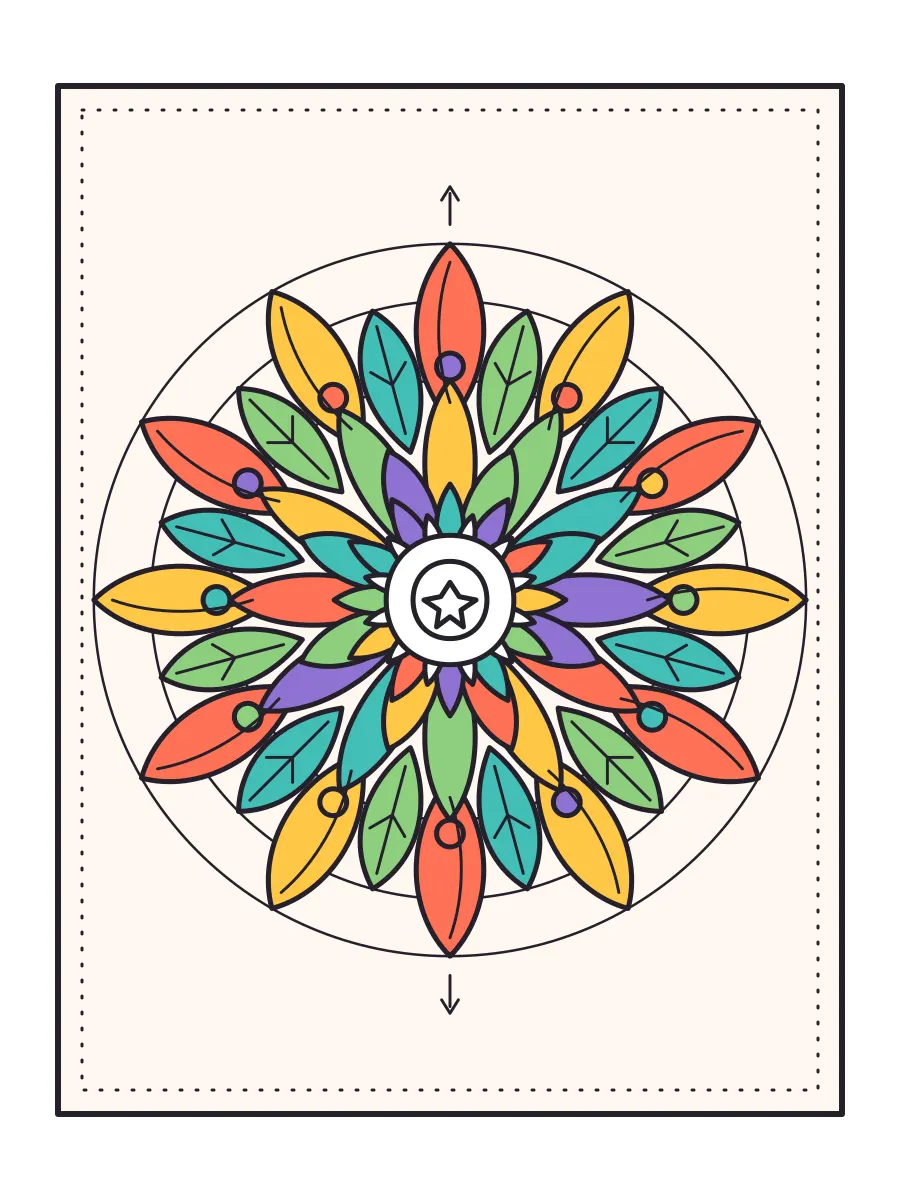
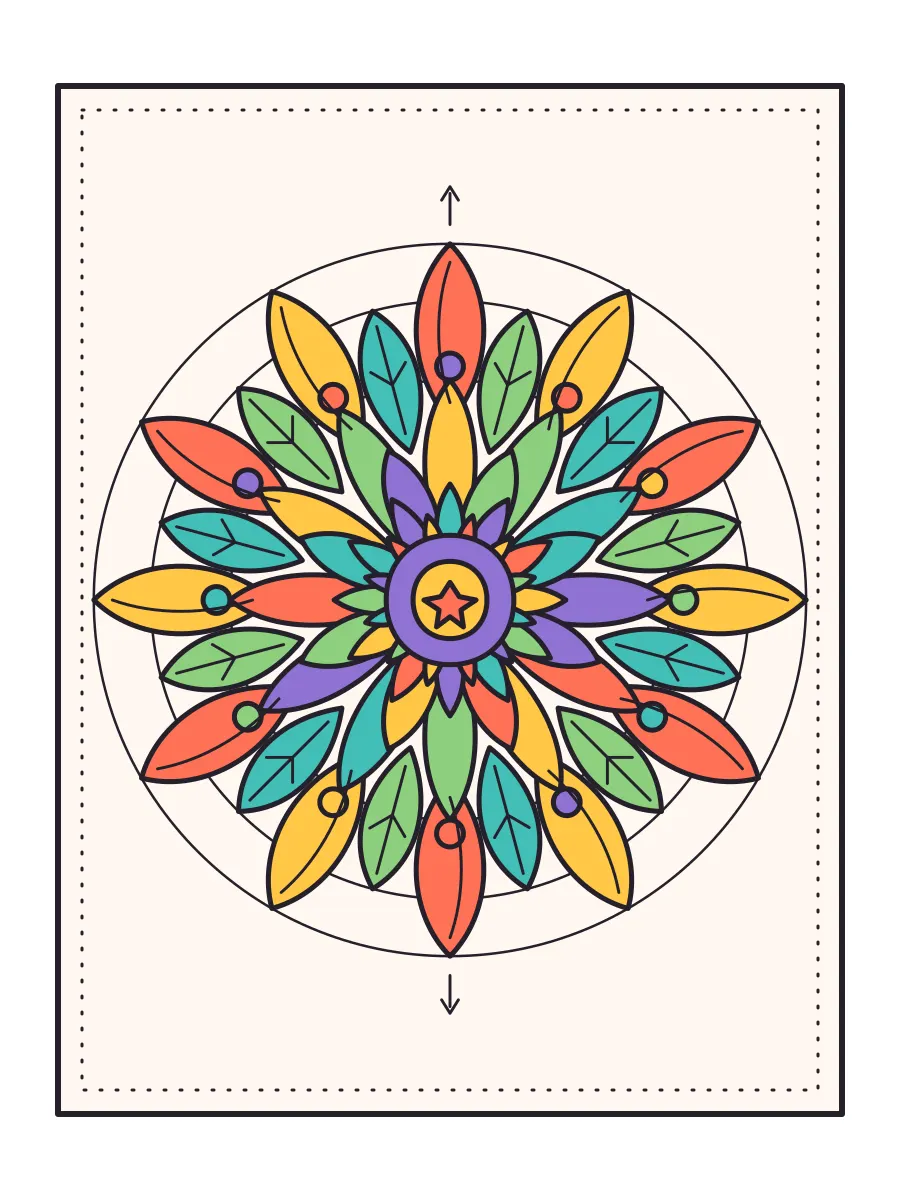
Editorial demonstration using one Love to Color line-art asset. The images show a repeatable coloring sequence with flat digital color; physical pencils and markers will create different texture and coverage.
Choose by what you want to do next
Plan a small palette
Start with a few coordinated colors, then build toward the center without planning every detail at once.
Preview the colors →Choose the page first
Pick a printable mandala whose smallest spaces fit the pencils or markers you already have.
Browse printable mandalas →Choose a beginner-friendly mandala
For a first page, look for a clear center, repeated shapes you can recognize at a glance, and enough white space to place your pencil or marker comfortably. A design can contain many shapes without feeling difficult when those shapes repeat in an orderly way.
Check the smallest spaces before printing. If the tip of your chosen marker would cover an entire area at once, either use a finer tool or choose a more open design. The goal is not to find the simplest-looking page; it is to find one whose spaces match your hand control and coloring tool.
Browse free printable mandala coloring pages · Compare coloring-page complexity by age · Compare generators and color-inspiration tools
Pick a tool that fits the spaces
Colored pencils offer the most control in small petals and make it easy to layer a second shade. Fine-tip markers give crisp, even color but can show every overlap and may bleed through thin paper. Gel pens work well for tiny accents, while broad markers are better reserved for large outer shapes.
You do not need every medium at once. One dependable approach is colored pencils for the whole page, or fine markers for the large and medium regions with pencil reserved for the smallest details. Test the colors and pressure on a spare strip of the same paper before touching the printed design.
Build a limited three-to-five-color palette
A small palette is easier to repeat and usually looks more coherent than choosing a new color for every shape. Begin with one dominant color, add two or three supporting colors, and reserve one contrast color for the center or another focal detail.
Write the order beside the page or arrange the pencils in a row. In the example above, coral, yellow, teal and green establish the main rhythm; purple appears less often and becomes more noticeable because it is not used everywhere.
Decide whether to start at the center or outside
Both directions work. Starting at the center makes sense when the middle is your planned focal point and you already know its colors. Starting outside is useful when you want to practise the repeating order before committing to the most noticeable area.
The demonstration begins with the outer ring and saves the center for last. This lets the surrounding colors reveal which contrast the focal point still needs. If you start in the center, use the same principle in reverse: finish one ring, rotate the page, and repeat the established order before moving outward.
Color one repeated family of shapes at a time
Instead of completing one wedge from center to edge, follow one shape around the entire mandala. Color every large outer leaf, then every middle petal, then each small circle. This makes accidental breaks in the pattern easier to notice and reduces constant switching between tools.
Rotate the paper rather than twisting your wrist into uncomfortable angles. After each full ring or shape family, place the page upright and check whether one side looks visually heavier. You can correct the balance in the next group of uncolored areas.
Create contrast without adding more colors
Contrast can come from light and dark pressure, not only from extra hues. With pencils, use a lighter layer in broad areas and deepen the color near an outline or at the base of a petal. With markers, keep flat fills clean and place the darkest available color in smaller areas beside lighter ones.
Leave some areas white if the page already feels busy. White space is an active part of the palette: it separates neighboring colors and keeps fine line work readable after printing.
Fix common mandala coloring problems
If the page starts to look random, stop introducing colors and repeat the ones already present. If two neighboring areas blend together, place a lighter or contrasting color between them in the next repeated unit. A missed section is easiest to fix by checking the same position around every segment of the circle.
A small mark outside the line does not require restarting. Let wet ink dry, then continue the pattern; at normal viewing distance, a consistent overall rhythm matters more than one imperfect edge. For marker bleed, protect the next sheet with scrap paper and switch to a lighter hand rather than layering more ink.
Review the page before you call it finished
Place the page at arm's length and look for three things: a clear focal point, a repeated color rhythm, and enough light space to separate the densest areas. If every part competes equally, strengthen only the center or one ring instead of changing the whole page.
When you are ready for another design, keep the same palette and try it on a more detailed mandala. Reusing the colors changes only one variable, so you can see how line density and shape size affect the result.
Choose another printable mandala · Preview a new color direction
Step by step
- 01Choose an approachable pageCheck the smallest spaces and select a mandala that fits the tip size and control of your chosen coloring tool.
- 02Test the paper and colorsTry your pencil pressure or marker coverage on the same paper before coloring the design.
- 03Limit the paletteChoose one dominant color, two or three supporting colors, and one optional accent.
- 04Assign colors to repeated shapesDecide which leaves, petals, circles and center details will share each color.
- 05Complete one shape familyFollow the same recurring shape around the circle before moving to the next group.
- 06Add contrast and accentsUse darker pressure, a contrasting color or intentional white space to separate neighboring regions.
- 07Finish and review the focal pointStep back, check the overall balance, and strengthen only the center or ring that needs attention.
FAQ
Should I color a mandala from the center outward?
You can start at the center or the outside. Start in the center when its colors are already your focal plan. Start outside when you want to practise the repeating palette and choose the strongest center contrast after seeing the surrounding colors.
How many colors should a beginner use for a mandala?
Three to five colors are enough for most first mandalas. Give each color a role and repeat the same order around the design; lighter and darker pressure can add variety without expanding the palette.
Are pencils or markers better for mandalas?
Colored pencils give more control in small spaces and allow gradual shading. Fine markers create crisp flat color more quickly but may bleed through thin paper. Choose based on the smallest areas in the page and test the paper first.
How do I stop a mandala from looking too busy?
Stop adding new colors, repeat the palette already in use, and leave selected areas white. Reserve the strongest contrast for one focal point instead of giving every ring equal visual weight.
What should I do if I break the color pattern?
Treat the change as a new repeating rule or return to the original order in the next shape. A mandala does not need perfect mathematical repetition to look balanced; consistent color distribution matters more than one exception.