Photo to Coloring Page Quality Checklist: Review Before You Print
Updated 2026-08-22 · 6 min read
Before printing a photo coloring page, check five things: the source is clear, the subject is recognizable, important features are intact, the coloring spaces are comfortable, and the full file prints at the correct size. If one check fails, simplify the source or regenerate before making a complete set.
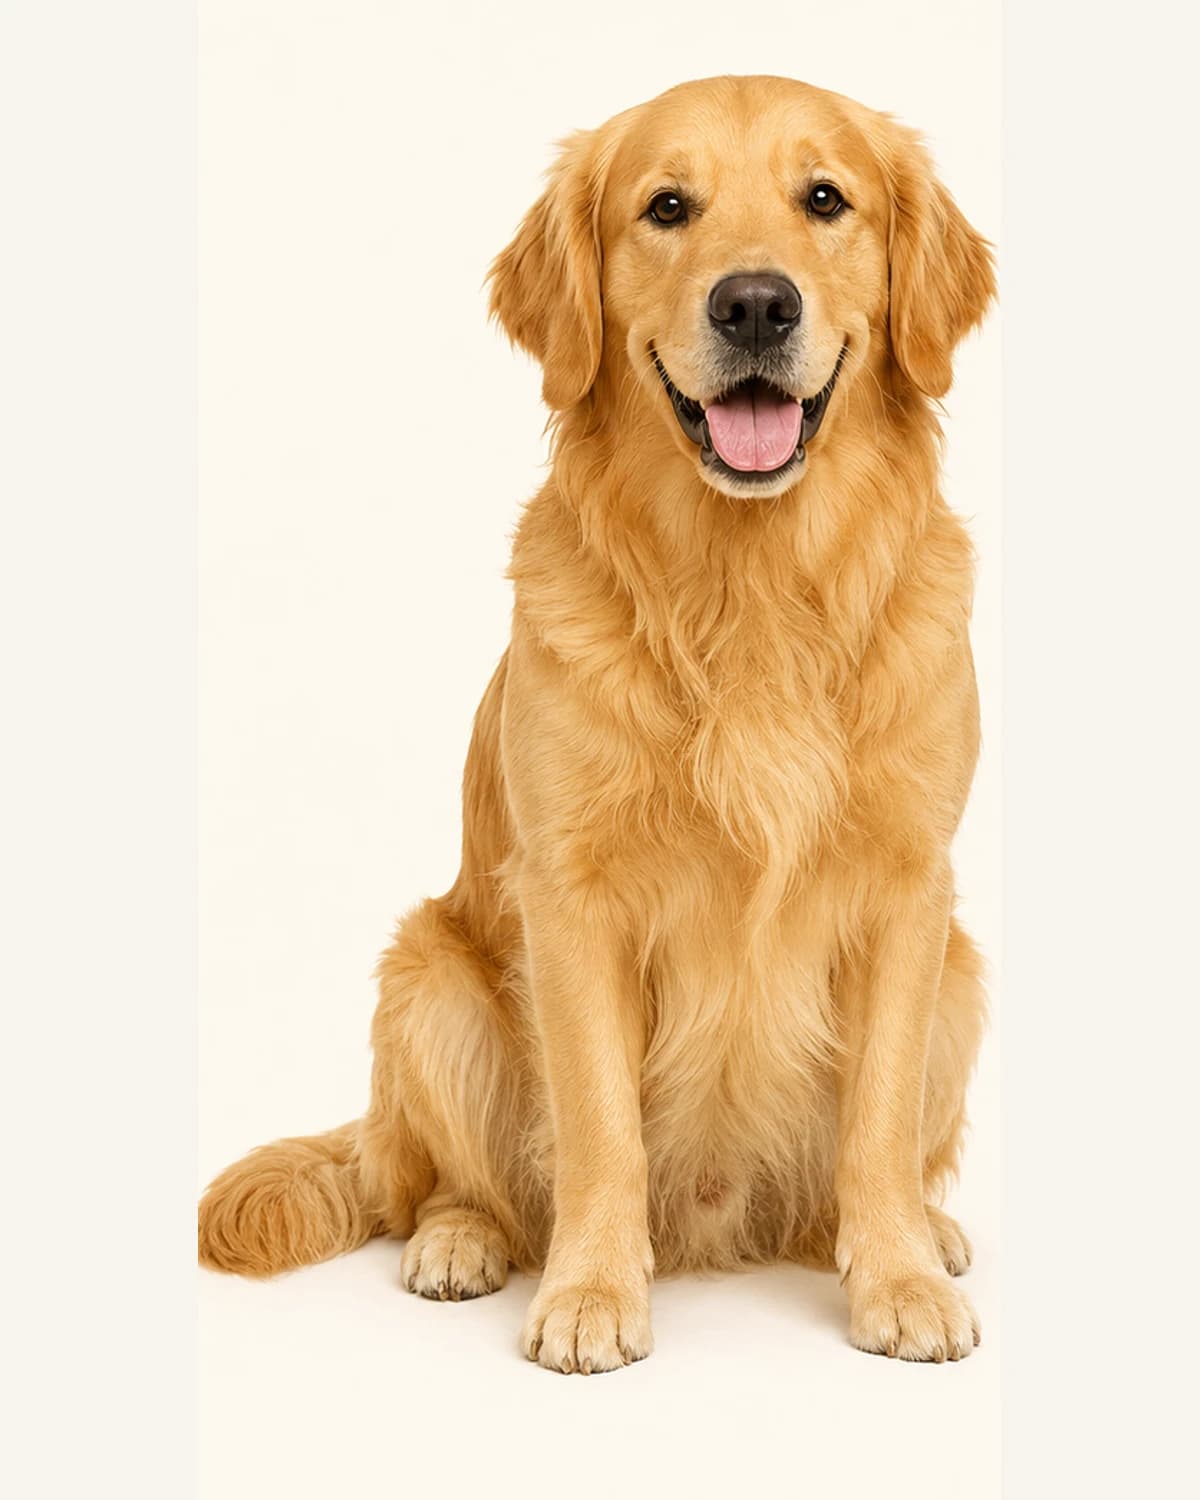 Source photo
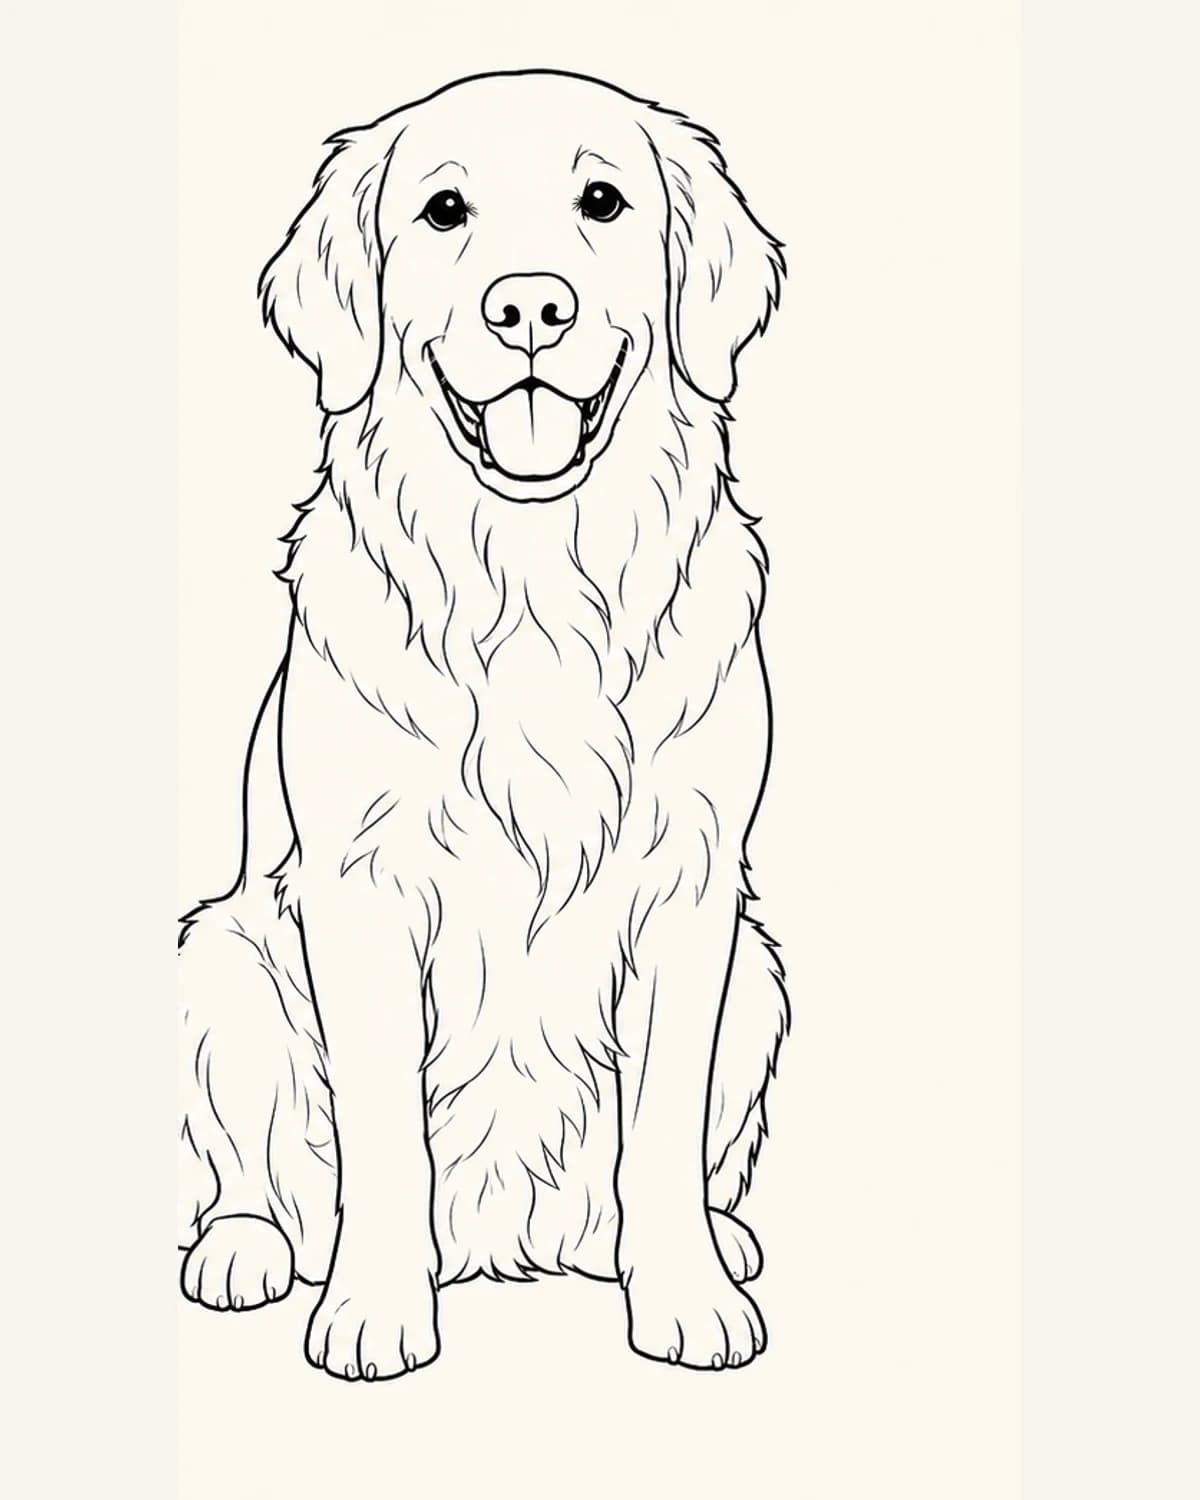 Printable line art
The workflow in three decisions
- 01One clear subject usually gives the generator a cleaner outline than a crowded scene.
- 02The first result needs a visual review; recognizable features matter more than preserving every texture.
- 03Download the full PNG and use the correct paper scale before printing a complete set.
Choose by what you want to do next
Read the beginner workflow
Follow the complete upload-to-print sequence when you are starting from a single photo.
Read the beginner guide →Run the quality check
Inspect recognition, line weight, enclosed spaces and print size before making the final set.
Review the quality checklist →Start with a source photo you can trust
The tool can only simplify the information that is visible in the source. Pick a photo where the subject is in focus, well lit and mostly inside the frame. A pet, person, toy, building or single object is easier to read than a group of overlapping subjects.
Look at the edges, not just the resolution. If the face blends into a dark background or the subject is hidden by shadows, a larger file will not restore the missing outline. The photo quality guide has a useful pre-upload checklist for lighting, contrast and background detail.
Match the detail to the person who will color it
Open the photo-to-coloring-page tool and upload one JPG, PNG or WebP image. The current upload limit is 10 MB. Treat the settings as a decision about the next activity: younger children generally need larger regions and stronger boundaries, while older children and adults can handle more detail.
If the page is for a classroom, choose consistency over novelty. Reusing a similar page direction across a small set makes the activity easier to explain and the printed pages easier to compare.
Turn a photo into a coloring page · Compare complexity by age
Review the result before you print
Do not judge the page only by how closely it resembles the photo. Check whether the subject is still recognizable, the outside silhouette is complete and the main features are present. For people, look at faces and hands; for pets, check eyes, ears and paws; for objects, check the parts that make the object identifiable.
Then check whether the page is actually comfortable to color. Large areas should be enclosed, lines should be easy to follow and the background should not compete with the subject. If an important feature is missing or the page is too crowded, regenerate with a clearer source or a simpler direction.
Create another page from the same photo
Decide whether the page belongs in the final set
Use the full-resolution download, not a browser preview or thumbnail. If you are building a set, name pages in order — for example, `01-dog.png`, `02-family.png` and `03-birthday.png`. Clear filenames save time when you arrange pages in a document or design tool.
The photo workflow creates individual PNG pages. It does not automatically assemble, bind or ship a finished coloring book. That separation is useful: you can reject one weak page without rebuilding the whole project.
Print a test page before making the full set
Choose A4 or US Letter to match the paper in your printer. Use 100% scale or Fit to printable area, and avoid Fill or Stretch. Print one page first to check the margins, outline weight and whether the subject is cropped.
For a full checklist of paper dimensions, pixels and printer settings, use the printing guide. A test page is especially worthwhile when the pages are for a classroom, party or gift because it catches layout problems before you print every copy.
Step by step
- 01Choose a clear sourceUse one sharp, well-lit subject with a background that does not compete with its outline.
- 02Upload and set the detailUpload a JPG, PNG or WebP up to 10 MB and choose settings that fit the intended colorist.
- 03Review the important featuresCheck recognition, silhouette, enclosed coloring areas and the amount of background noise.
- 04Download the full PNGKeep the full file, name it clearly and do not enlarge a small preview for printing.
- 05Print one test pageMatch the paper size, use 100% or Fit to printable area and check margins before printing the set.
FAQ
What photo format can I upload?
The photo-to-coloring-page workflow accepts JPG, PNG and WebP images. The current upload limit is 10 MB per image.
Why did my photo become a messy coloring page?
The source may be dark, blurry, backlit or crowded. Try a sharper photo with one clear subject, stronger edge contrast and less background detail before changing every setting.
Can the tool create a whole coloring book automatically?
No. It creates individual image pages. You can download the pages, arrange them with a cover and margins in a separate layout tool, then export or print the set.
How do I print the page without stretching it?
Match A4 or US Letter to your paper and select 100% scale or Fit to printable area. Avoid Fill or Stretch, which can distort the proportions and crop the subject.